Tuesday, June 10, 2014

Origami Hearts

This week we exchanged names for our secret sisters for camp. I thought it would be fun to take the surveys they each filled out and fold them into cute little heart shaped figures. Each flag protruding from the heart had the name of the girl who filled out the survey so that they could quickly make sure they hadn't pulled their own name without having to unfold the whole paper. I thought it was a fun effect.


Here is a quick look at how to fold your paper:

Start by creating a diagonal from one corner matching up sides of the paper. Open it back up.
 

Repeat for the other side. 


Flip your paper over and fold the X in half.


Flip it over and it should look like the first figure. Push the creases in to create a triangle.


Fold up the left bottom point of the triangle to the center top of the triangle. Repeat on the other side.


Now fold in the sides flush with the center line of the triangles you just folded up.


Flip your paper over and fold up the bottom to meet the "roof line" of the house shaped paper.


Fold down the triangle. Create the heart shape by folding down the remaining triangles. This part is not very exact. The only thing you have to do is make sure you leave enough of a tail to tuck it inside the folds of the triangles you just folded down.


 Repeat for the other side. Fold up the bottoms to create the shape of the bottom of the heart and tuck them into the folds.


This is what your heart will look like from the back and the front.


Enjoy!


Sunday, June 8, 2014

Lavender Lemonade


Lavender lemonade is one of my very favorite ways of passing the time by during the summer. There is just nothing like it!


Here is my favorite way of making it.


Ingredients:

1 1/2 cups of freshly squeezed lemon juice, approximately 9 large lemons
1 3/4 cups of white sugar
2 TBSP of lavender
8 Cups of water

The first thing you will want to do is make a syrup out of your sugar and 1 cup of the water. Heat the sugar water to a boil stirring occasionally. Once it reaches a boil remove it from the heat and poor it over the 2 TBLS of dried lavender. Make sure your bowl is large enough to accommodate all of the lavender and all of the sugar water. Allow the lavender to steep for 4 min. Strain out the lavender and keep the lavender flavored sugar water. Allow it to cool. Once it is cool enough, move it to the fridge so that it can get nice and chilly!

Now its time to get juicy! Squeeze your lemons until you reach 1 1/2 cups of lemon juice. Place the lemon juice in a large pitcher. Add the remaining 7 cups of water and the lavender sugar water. Stir. If you want to add a magical touch serve with ice and garnish with a bit of fresh lavender.

Enjoy!


Just a bit about lavender..,


There are 3 different varieties of lavender pictured here. Mainly I started collecting lavender plants for my bees, but then I became interested in harvesting it for myself.

On the far left are 3 strands of French Lavender. This is a beautiful plant and I would say by far the most fragrant of the 3. The leaves actually smell better than the flowers! All you have to do is rub the leaves with your hands and they will be stained with a lovely lavender smell. It is considered to be more of an ornamental lavender not because you can't use it in cooking or crafting, but because it doesn't have a great yield.

The next variety of lavender pictured is Spanish Lavender. The leaves on this plant have a very distinctive rosemary like smell. Spanish Lavender is not usually preferred for cooking sweets and desserts because it is less sweet than the English Lavender, but it is great for the more savory dishes like meets. It can also be used in soaps and to make sachets.

The last variety of lavender pictured is English Lavender or Common Lavender. This is the variety that most people prefer to cook with. It has the sweetest flavor and a great yield!


Beautiful Hair


I stumbled onto this beautiful hair tutorial this week and just fell in love. I've decided that when I die and go to heaven this is what I want to look like! What a great hairstyle! Fortunately I have a 14 yr old daughter who can interpret it for me and she was kind enough to do my hair for church. I had so much fun wearing my hair like this that I will be begging her daily for a repeat! Isn't it LOVELY! To find the tutorial click here.


Saturday, June 7, 2014

Secret Sister Survey

Here's a copy of the Secret Sister Survey I came up for our name swap!


Camp Scrapbook


I thought it would be fun for the girls to make a little pocket sized camp scrapbook on a key ring to capture all their fun memories! My WONDERFUL sister helped me come up with this. There is room for pictures, memories, signatures, and a testimony.


Friday, June 6, 2014

Secret Sister Mailboxes

I had so much fun creating these tin can secret sister mailboxes. I think they are just large enough for most gifts. They were super easy to make, but oh so cute!


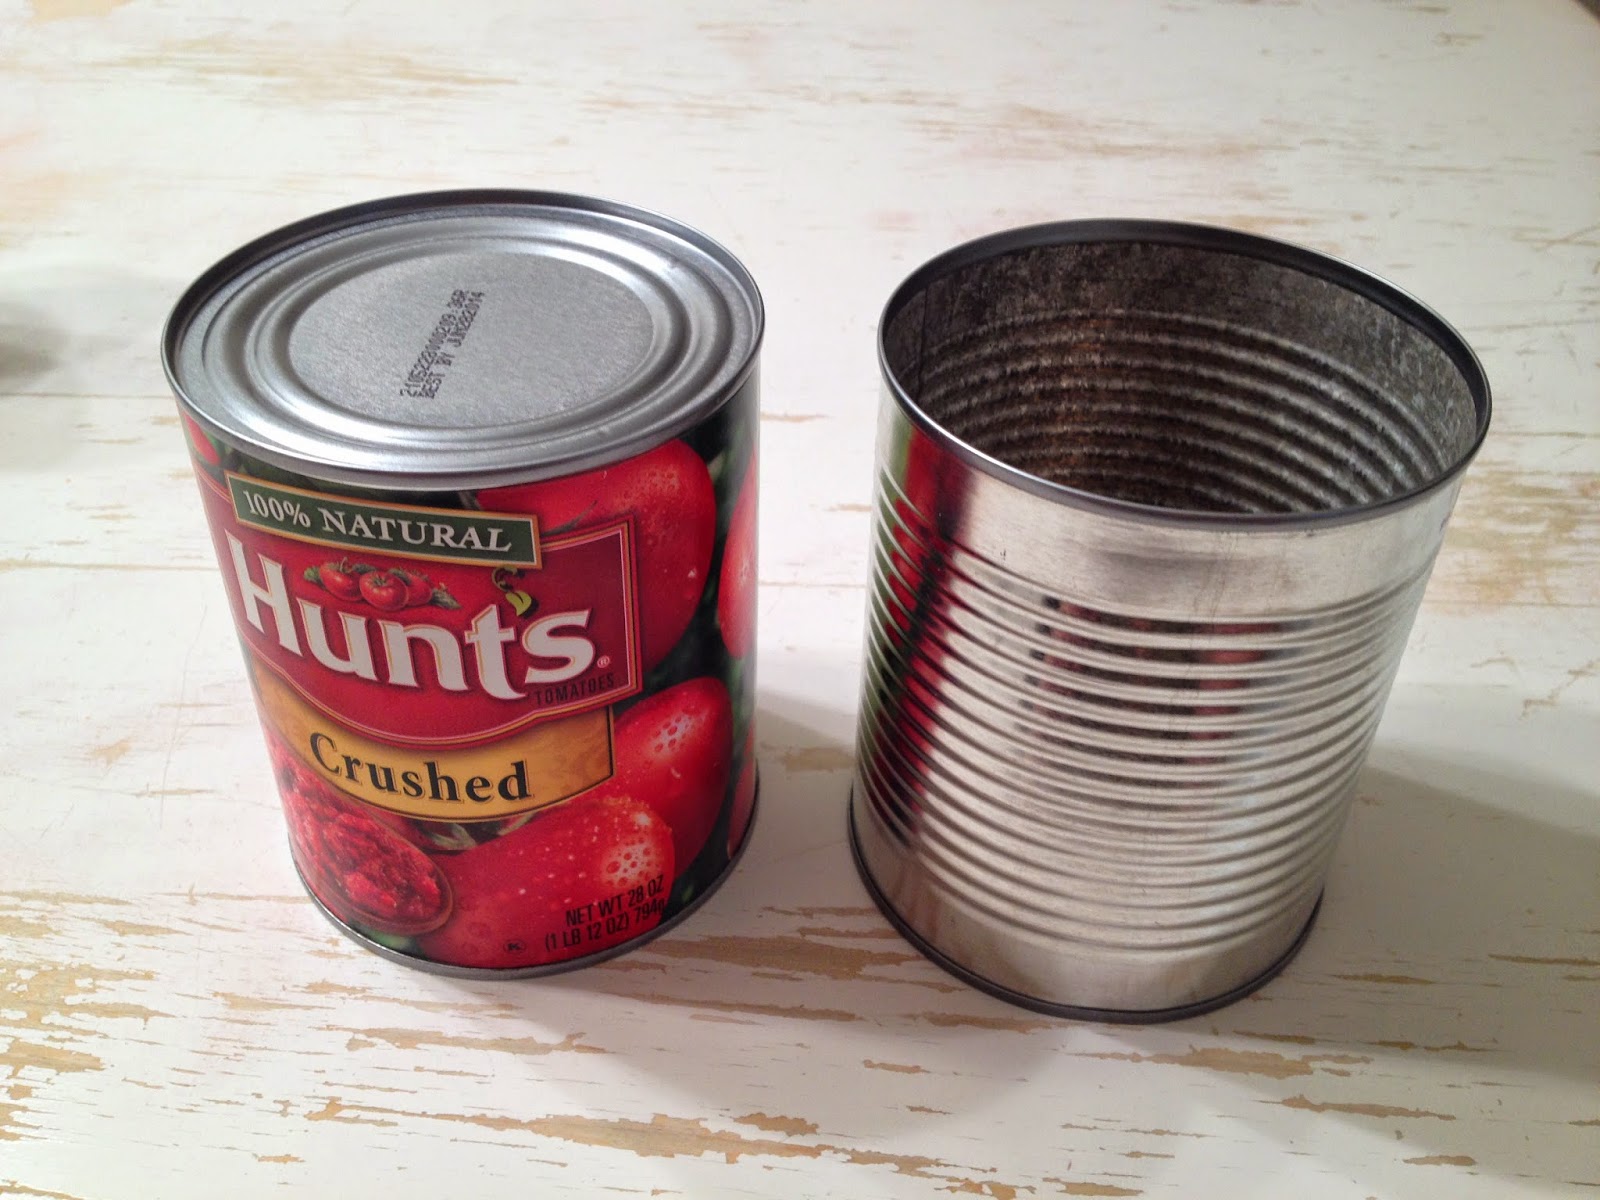
Making these mailboxes is super simple and a whole lot of fun. I started with an empty, clean, 28 oz can of crushed tomatoes. I figured this size of can would be just slightly better (roomier) than the regular sized cans.


What you will need:

A powerful double sided sticky tape
Hemp, ribbon, or twine to use as a handle
Drill and small bit
Empty can
Coordinating scrapbook paper
Coordinating ribbons and embellishments etc. (For a quick tutorial on how to make the origami dress click here.


1. Measure the distance between the top and bottom rims of your can to figure out how wide you need to cut your paper. Then measure all the way around to find your length. Cut paper to fit.

2. Using a bit of double sided sticky tape adhere paper to can. (Notice that the 12 by 12 paper does not go all the way around. I decided that I would rather have the slightly roomier can than have the paper go all the way around.)


3. Drill holes through the paper and the can on either side of your can about 3/8 of an inch down from the top using an 1/8 of an inch drill bit.


4. Thread your hemp or twine through the holes from the inside of the can to the outside of the can. Tie knots at either end to keep the twine in place.


 5. Embellish away!


We ended up stuffing each mailbox with a letter from all of the YW leaders, a chapstick which really came in handy for a few of the girls, and a pair of giraffe sox.


Hope you enjoy!