Friday, September 12, 2014

DIY Wooden Cake Stands


Mikel-ann and I had so much fun doing the color run! it was definitely the right run for us, no pressure, just a whole lot of color, bubbles, music, and fun. After the run we had to walk back to our car which was just past the farmers market. On the way through we stumbled onto this wonderful table full of wooden painted cake plates, they were so fun to look at and I'm kind of a cake plate freak. I collect them. I really wanted to buy one, but decided it would be so much more fun to make one... or three!

Here's how my first one turned out. At the booth he had both cake stands and cupcake stands. I thought how fun it would be to put a special birthday cupcake on a special plate, so this is actually a cupcake cake stand. I really love it! I also made a full sized cake stand and a mini cake cake stand.
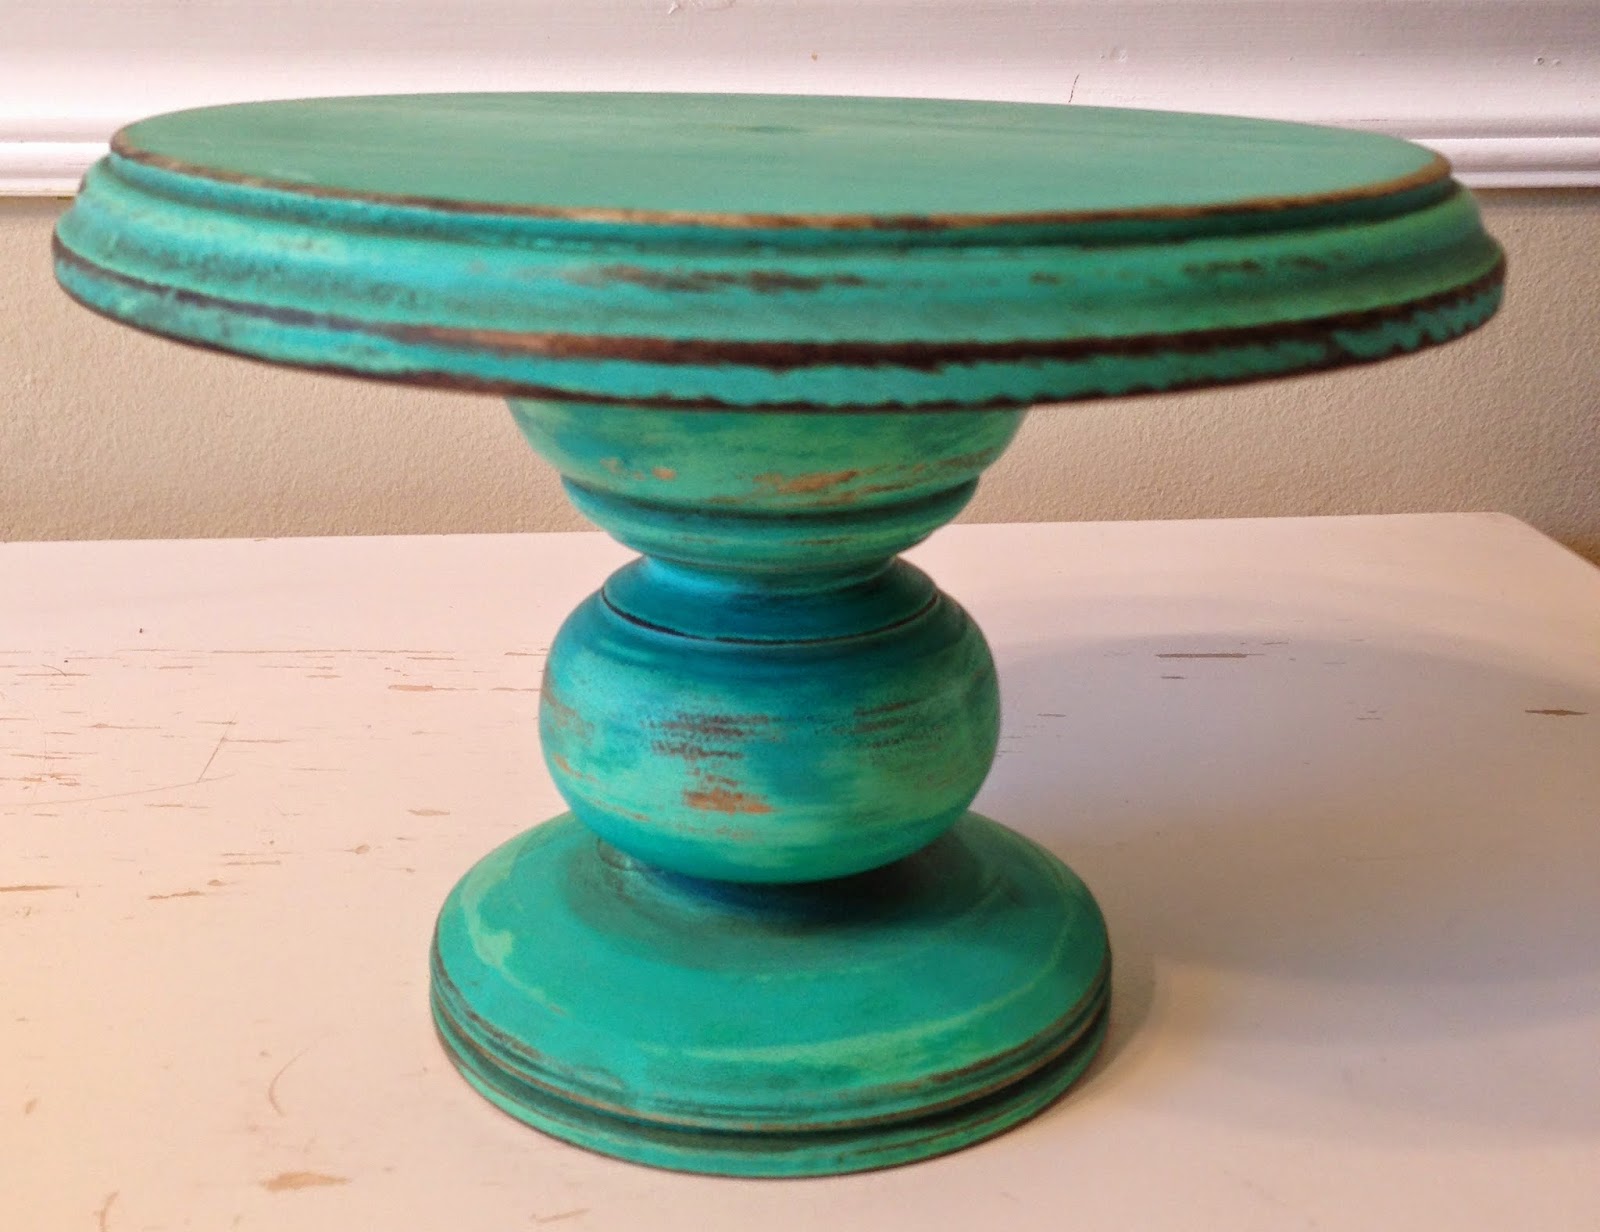

The process was pretty simple and required just a few supplies.

Materials:

Unfinished wooden base
Unfinished wooden table leg
Unfinished wooden round
Screw(s)
Wood fill
Sanding blocks (medium and fine)
Wood glue
Paint suitable for wood
Wood stain

I was able to get all of these supplies between Lowe's Hardware and Michael's Craft stores.  

1. Sand all of your wooden components until they are no longer rough and very smooth to the touch. Start with the medium grit sanding block and then move on to the fine sanding block. Wipe dust away with a damp cloth.

2. I found it easiest to do my first coat of paint on the individual pieces before they were connected. You will actually want to do two coats of paint leaving a few minutes in between each coat of paint. The paint dries rather quickly. I used the 50 cent acrylic paint from Walmart. I also blended two to three colors to get the desired shade.

3. After your paint has dried, give it a day or two, sand it down and rough up the edges a bit. Wipe the dust away with a damp cloth.

4. Now it is time to connect all of your pieces. Here's what worked best for me. I found the glue and the wood filler at Lowe's.


Start by marking your centers and either gluing or screwing and gluing your pieces together. The glue works rather quickly, and per usual less is more with Elmer's. Wipe any excess glue away immediately with a cloth. Give The glue a day to dry.

5. Use the wood fill according to directions if needed. I had a hard time finding rounds without holes in the middle. The day I went to Michael's their wooden section was pretty wiped out, 2 of the 3 round pieces I found were intended for clock making and so had holes in the centers. I filled them with the wood fill, sanded and repainted.

6. Do a second coat of paint, well actually 2 a few minutes apart, so a total of 4. You can alter the shade a bit so as to make the 1st shade peak through a bit after you have done your final sanding.

7. Give your last coat of paint a day to dry and then sand it down until it is very smooth and bits of the wood are peeking through.

8. After you have sanded your cake plate for a final time wipe away the dust with a damp rag and do a top stain over the paint and the wood. I used both a natural and a dark stain, but I think I prefer the dark stain best.

Tada! I used the natural stain on the green cake stand and the dark stain on the turquoise cake stand.


Hope you enjoy!


Sunday, September 7, 2014

Bubblegum Ball Bead Necklaces.


This is my adorable 6 year old Livy, you just gotta love that smile! My sister sells these incredible bubblegum ball necklaces through her Etsy shop EyeCandyonEtsy. The flowers are detachable. I just love them! I want one to match each of her outfits! They come in a range of prices and colors.


Here is another one that I fell in love with!


Here's a quick snap we took before school this morning! She loves the rainbow colors, but not too fond of the sun in her eyes. 


She just added a bunch of faux pearl necklaces. These are my new favorites! They come in all kinds of colors.


And another one in her favorite color, PURPLE!


I love this coral cutie! Livy however is not too thrilled about taking another pic!


Click here to visit her Etsy shop EyeCandyonEtsy


Saturday, August 2, 2014

At Last!

This last week was the open house for the Ogden Temple! It has been a long time coming. Chad has been part of the process for the last 4 years. It was so wonderful to go and see some of the work he and others have done to make the Ogden Temple so beautiful! He has been so grateful for his job, this opportunity, and for the people he is privileged to work for. The Ogden Temple is kind of special to me. My parents were married there, I used to go and do baptisms for the dead every Friday at the crack of dawn before classes while at Weber, and now Chad has had the privilege of helping with the redesign. Our family is kind of hopeless at family photos, but here's us at the open house.


We weren't aloud to take any pictures on the inside, but here are some of the church published pictures. This is what the Ogden Temple used to look like.


Here's what the remodeled temple looks like.


I really like the Angel Moroni and the architectural details.


My favorite part was the decorative paint and the chandeliers.


I also loved the use of the Pioneer rose and the prairie grass throughout.


What a beautiful day, and a wonderful opportunity!


Perfectly Chocolate Chocolate Truffles


These are the most perfectly chocolate chocolate truffles! The balance between the dark and the milk chocolate is delicious. They can even compete with the fine chocolates I love to get at the chocolate store, and they are much cheaper to make! Buying a quality chocolate and good butter and good cream is the most important step. I love Ghirardelli and guittard chocolate, but for sure look for a chocolate that uses real vanilla and not vanillin.

Ingredients:

1 1/3 cup of semisweet chocolate chips
2/3 cup of milk chocolate chips
1/3 cup of cream
6 Tablespoons of butter

Opt: Cocoa powder, sea salt, almonds, etc. to use as a covering.

Heat the butter to  a simmer and add in the the butter. Once the butter has melted add in the chocolate stirring until everything is smooth and completely melted. Remove the chocolate from the heat and place in a shallow container to cool. After the chocolate has cooled to room temperature cover and refrigerate for 2 hours. Using a 1 inch melon baller, or a spoon, roll the chocolate into circular balls and roll in your desired toppings. Eat immediately or keep in an air tight container for a couple of days. They are best when fresh!

I like to  buy small boxes and use mini cupcake liners when giving my chocolates away, but most of all I like to eat them :-)


Sunday, July 27, 2014

Not So Glamping Camping


 This last week we decided to go camping kind of spur of the moment for pioneer weekend. We left on pioneer day and decided to honor our own pioneer history by checking out a house that Chad's Great, Great Grandpa Rogers built in Fillmore, Utah with Chad's parents, and Chad's sister's family.


Fillmore was just a bit abandoned looking, but it was fun to read from the family histories and look at the house. It is actually for sale at the moment so we were able to go inside and walk through the house!

On the way to the Great Basin we saw a couple of wild fires which made me very nervous!


Camping was tons of fun! The kids really enjoyed it. We affectionately called our little campsite Lucky Number 11. It really was quite charming. Chad made a pretty mean breakfast the first day. YUM!


We enjoyed hiking, playing in the streams, visiting the lake, playing cards, and especially our time around the camp fire. We told ghost stories, popped some jiffy pop, and made s'mores! And oh by the way I have a new favorite way of making s'mores!


The picture below is particularly memorable for me. It was Olivia's turn to tell a ghost story. She is 6 years old. I listened to and watched the other 3 struggle to come up with a story, but not Oliva, she went on and on :) So much that I started to tune out. At one point when I tuned in she was talking about 1000 dead school girls in a purple tent. Where does she come up with this stuff? I had to try not to laugh as it was supposed to be a ghost story!


I didn't get a picture of the s'mores, but we just had to recreate them once we got home, because they were just so delicious!

Do you remember S'moreos? Well, School Boys are even better!


I roasted my marshmallows at home in the oven on the broil setting for 2 1/2 minutes, but they probably could have gone for 3 min.


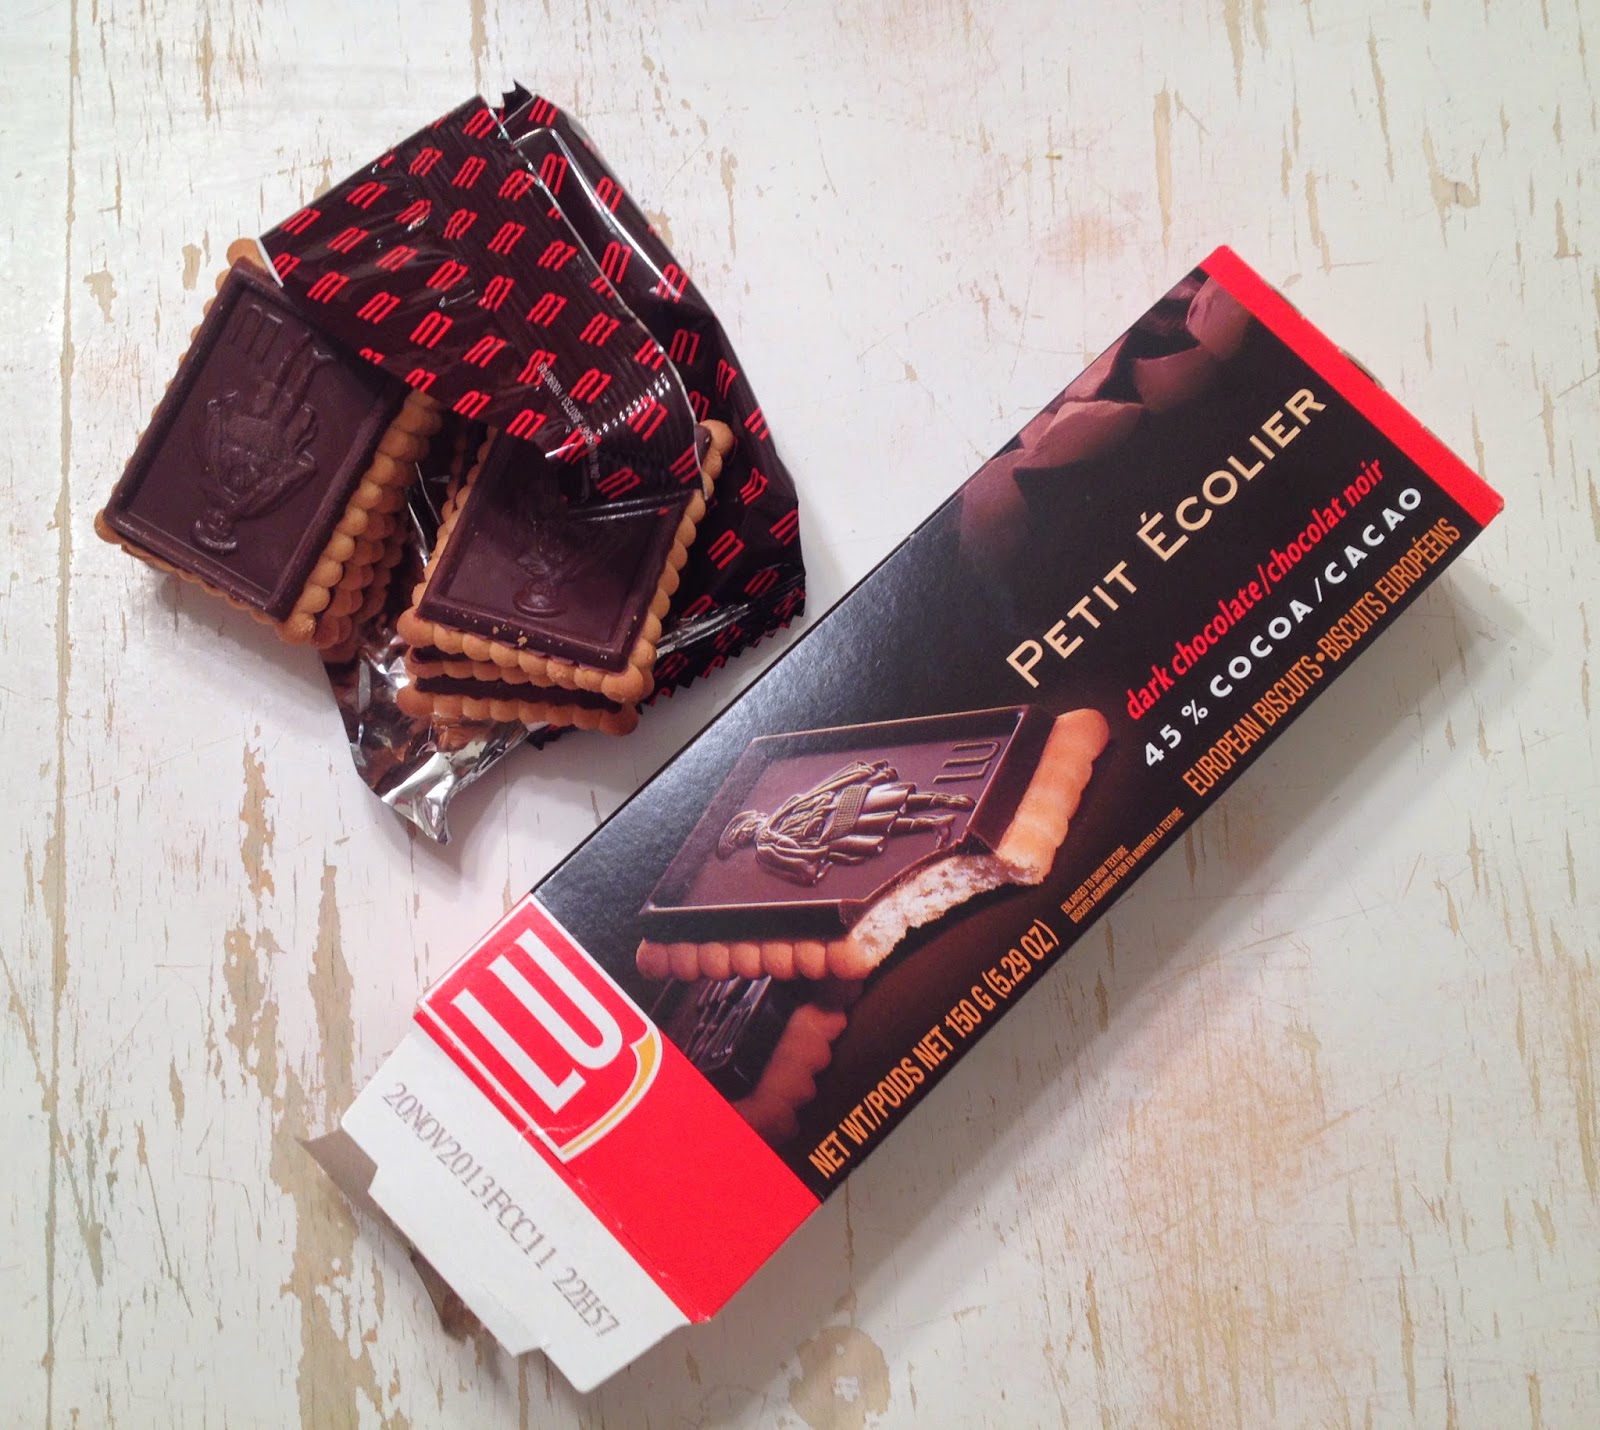
We used Petit Ecolier (we call them School Boys), which are a chocolate biscuit cookie. The best part is they come with great chocolate, so no need to worry about a Hershey's Bar!


Can you see that Yummy Chocolatey Goodness? These are definitely my new favorite way of eating S'mores!


YUM!


Friday, July 18, 2014

Mini Tissue Pom How To

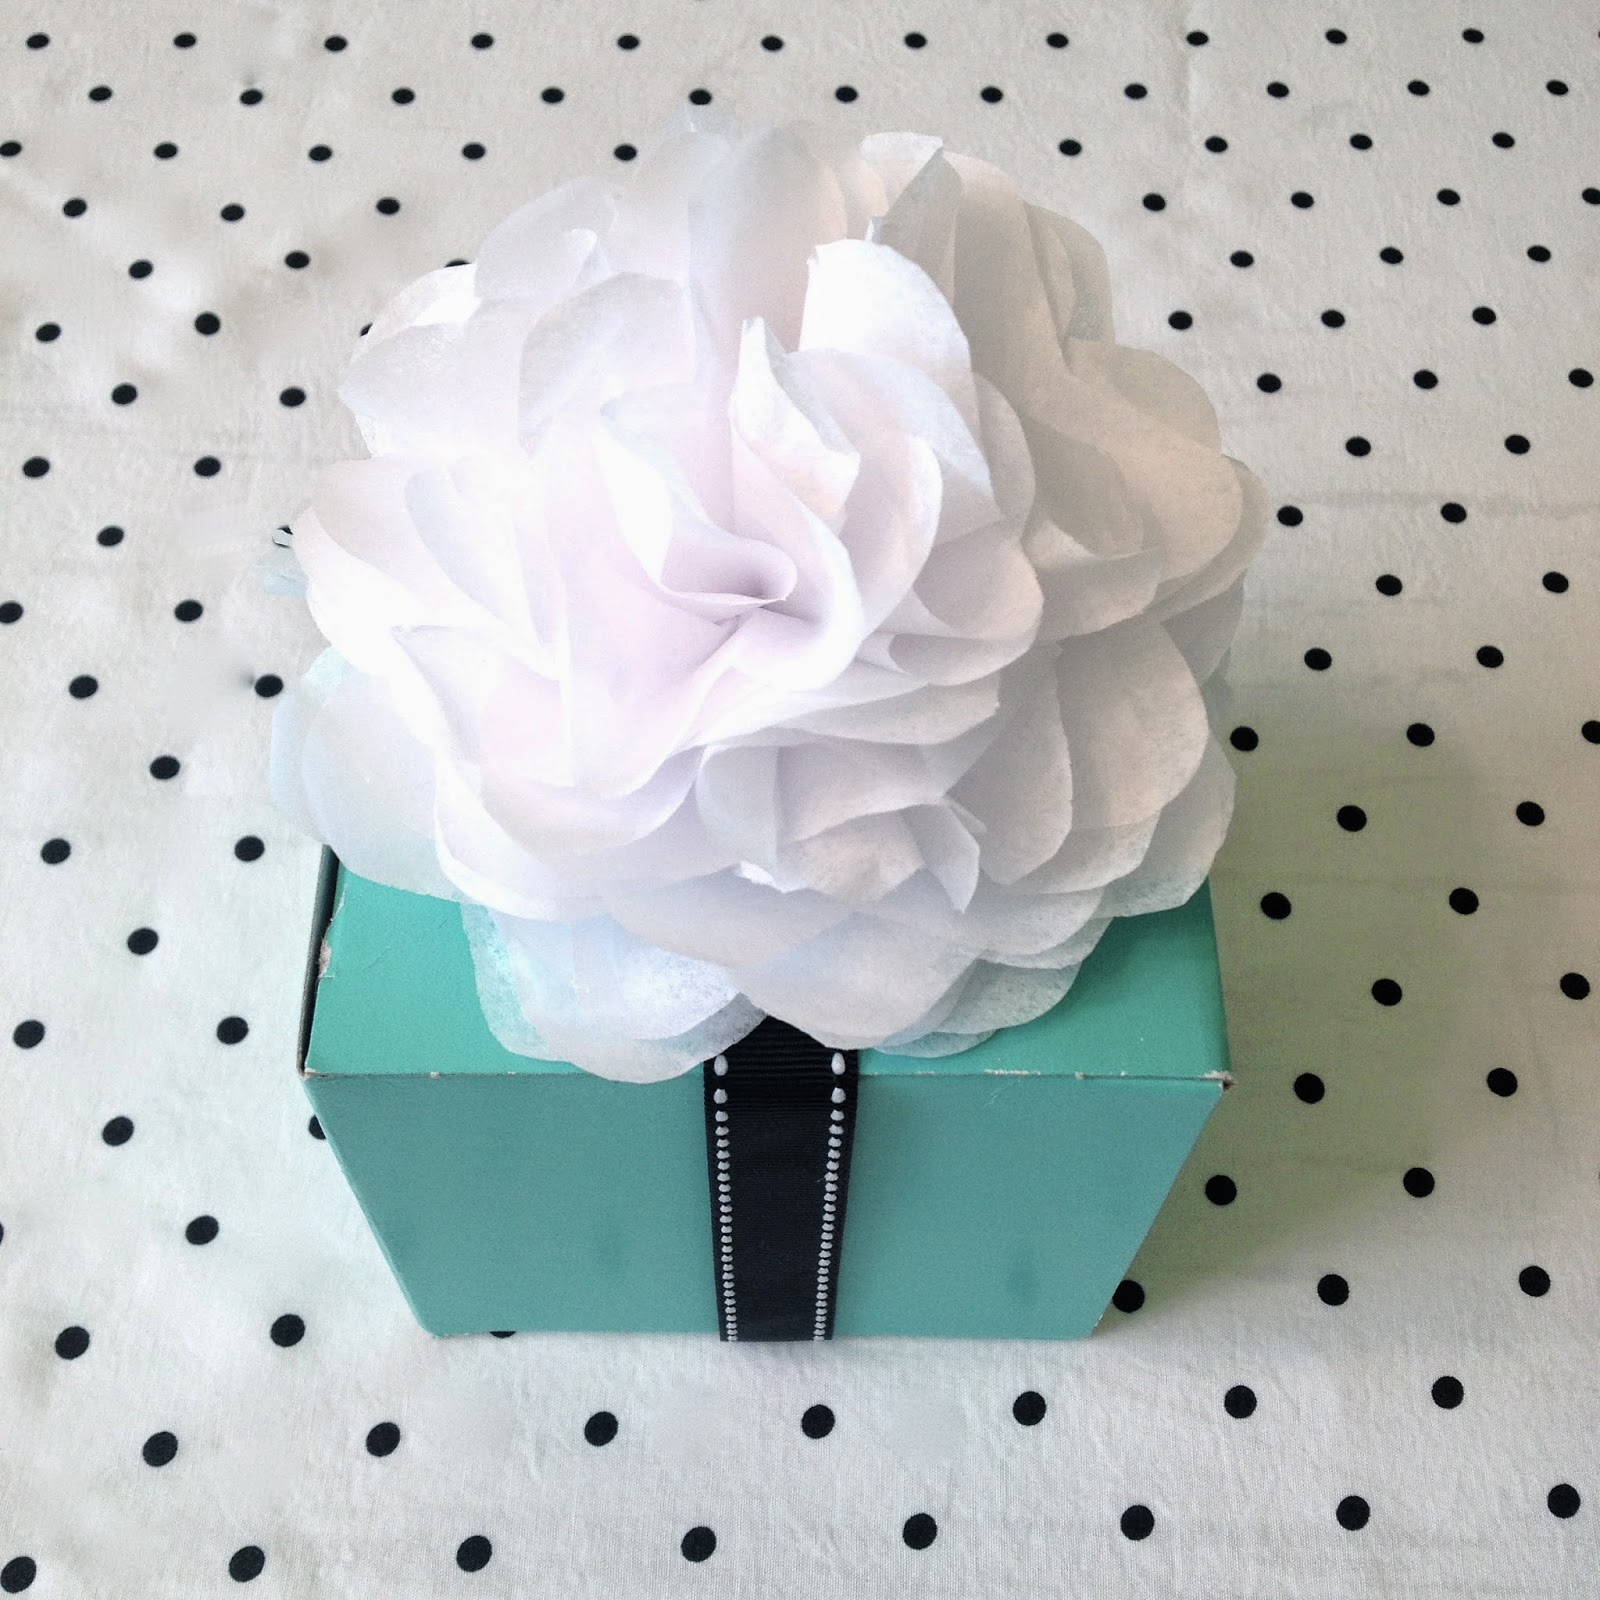
I don't know what it is about these mini tissue poms, but I just love them! Here is a quick tutorial, but the sky's the limits on what you can do with them. Decorate a box, top a cake, or make a garland, it's up to you!


1. Start by squaring your tissue paper off. Do this by creating a triangle and cut off the remnant.


2. Next fold your tissue paper in half then in half again creating a square.


3. Repeat step two again creating a new smaller square. You should now have 8 layers.


4. Now fold your square into a triangle, and then again into a smaller triangle.


5. Now bring one of the lower points up folding the triangle in half, but leaving the lower layer down.


6. Turn your tissue paper over and repeat for the other side.


7. Cut a petal shape from one side of the triangle to the other.


8. Open your tissue paper up and stack them individually alternating the petals.


9. Fold your circles in half and punch a hole through them. Tie it off with some twine.


10. Flip it over and begin to shape your petaled circles one round at a time cupping them and scrunching them.


Now you can top a package, create cake toppers, or make a garland!

Enjoy!