Sunday, June 21, 2015

Brown Family Quiche


Quiche is one of Chad's favorite meals. It was a special request for his Father's Day meal. Here's what you need.

For the Crust:

1 1/2 Cups flour
8 Tablespoons cold, butter, cut into small pieces
1 teaspoon salt
2 Tablespoons ice water

For the Filling:

1/2 cup sliced shallots
1/2 pound chopped bacon (pieces about the size of a dime)
Freshly ground pepper
2 eggs
2 yolks
1/2 cup heavy cream
1/2 cup milk
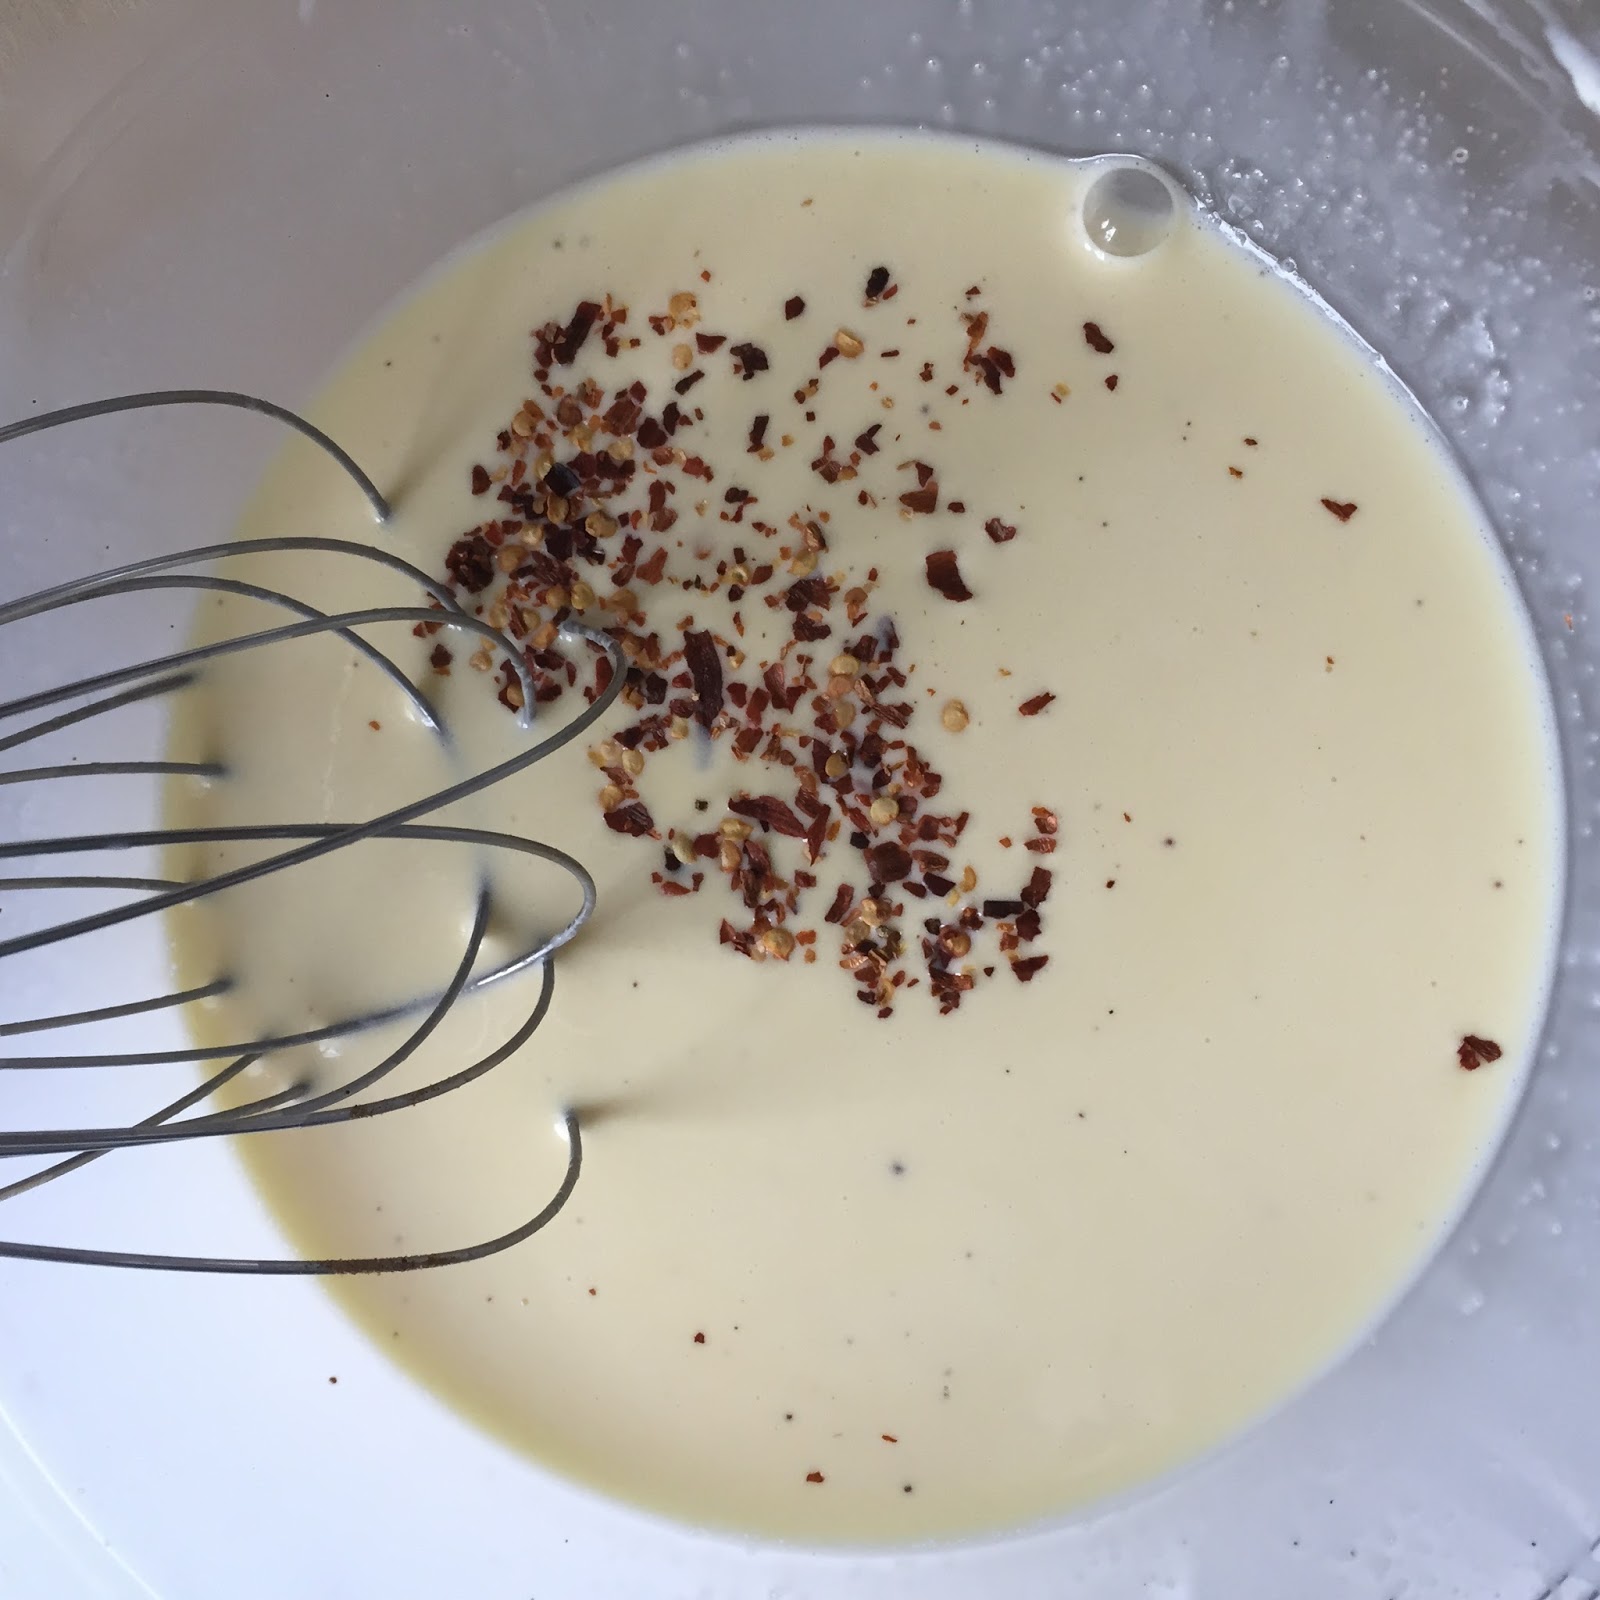
1/8 teaspoon freshly grated nutmeg
1/4 teaspoon red pepper flakes
1 Cup grated Gruyere cheese
1/4 Cup fresh basil
2 Tablespoons of grated Parmesan cheese

Preheat oven to 400 degrees.

Using a pastry cutter, cut butter into flour and and salt. Add the water and mix/cut in with the pastry cutter until the dough starts to cling together. Press into a ball and roll into a 13 inch diameter round about a 1/4 inch thick.


Transfer and press down into 10 1/2 inch tart pan with a removable bottom. Trim off excess dough. Line the shell with wax paper and weigh it down with some dried beans. Bake at 400 degrees for 10 minutes.

Meanwhile, fry bacon on medium-high heat. Add in shallots and sauté along with the bacon until they are a golden brown.


Using a slotted spoon transfer bacon and shallots to the quiche crust.


Mix eggs, cream, milk, nutmeg, pepper, red pepper flakes, Gruyere, and chopped basil.


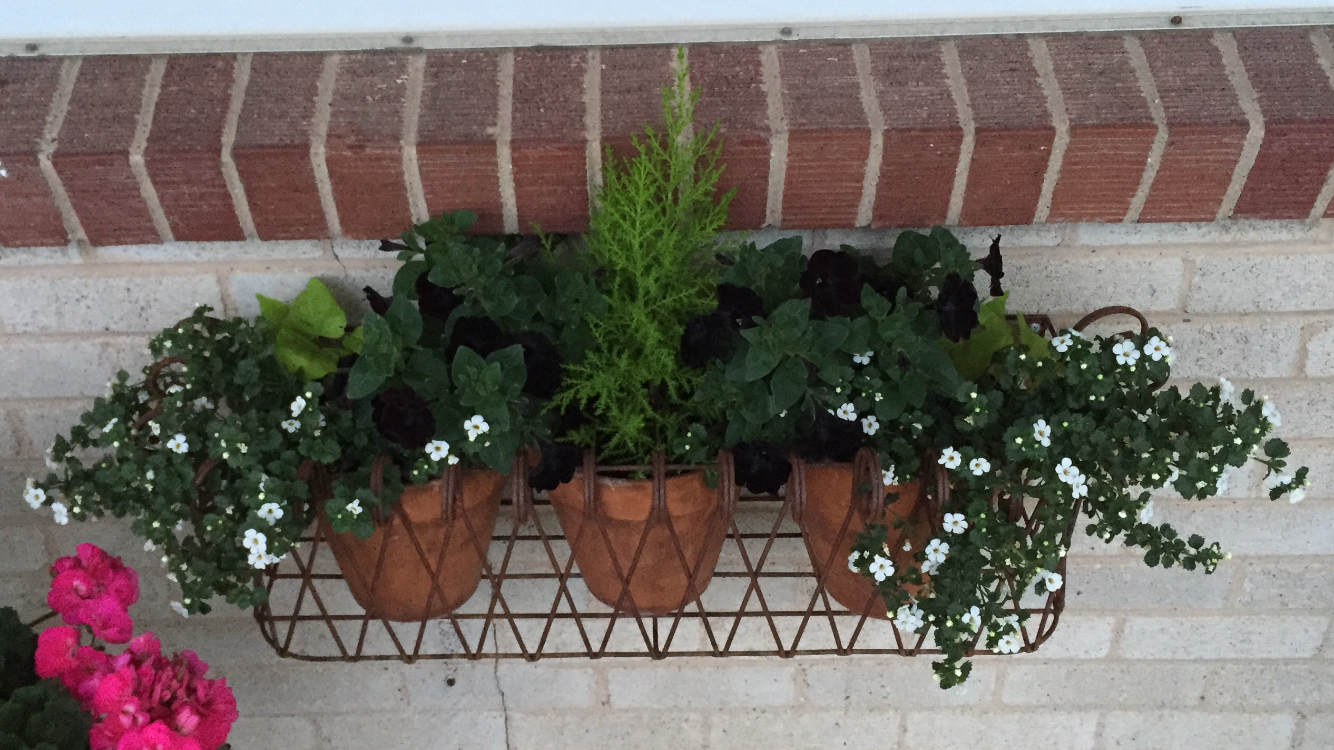
Fresh from the garden! :-) This is some basil that has successfully reseeded itself for the last 3 years. It was originally regular basil planted next to some black basil, and is now a weird spotted mix of the two.


Poor the egg mixture over the bacon, top with Parmesan and a little more basil, and bake at 400 degrees for 40 minutes.


Allow to cool on a rack, unmold, and serve warm.


Chad wanted his Quiche with a little tomato bake. 
YUM!


And a little Panna Cotta!


Happy Father's Day!


Chad is a wonderful husband and father. I feel so lucky to have him in our lives. He is a great influence on our children and a patient and kind friend. Love you lots Chad!

Honeybee Update


I got to go catch a wild swarm a couple of weeks ago. It was so much fun! The bees had located themselves in a low laying branch on a young tree, so really it was sort of an ideal catch. Not eventful, no troubles, and Super FUN! I'm guessing there are about 40 thousand bees in this swarm.


My own bees are doing pretty great! I got to super one of my hives this last weekend. I'm so excited!


I also created a little mini Bee Pond. Those darn wasps insist on sharing.


In this picture the bees are gathering the water off the discarded leaves. They really love that salt water.


It's been so hot and dry that I was worried about my bees not getting enough water. The first couple of days only the occasional bee would stop by, but then I read somewhere that they love a little salt in their water. I added a quick shake, nothing crazy, and now it's a pretty happening place. There are all kinds of ways to make bee ponds, but this is what I came up with on the fly. I change the leaves out about every 3 days, and add a little fresh water while I'm gardening. The leaves make it so that the bees have a landing and don't end up drowning in the water. It's fun to watch them sipping away.


Live Wreath


Not sure why, but I got it in my head this spring that I wanted a live wreath. I did a little research and came up with a plan, although most of the live wreaths I saw on line used succulents. I wanted something a little more floral and thought I could make a go of it with some Impatiens, here's how I did it.

I started out with a roll of moss paper and 2 wire wreath frames, (I don't recommend the wire wreath frames, if you can get a hold of a wire wreath with a snap on back, that is better. I looked and looked, but couldn't find any, so I improvised. The problem with using the wire wreath frames without the snap on back is they are not quite deep enough to hold a lot of dirt. The wire frames with the snap on backs are a lot deeper and can hold more dirt.)

Cut around your wreath frame leaving an inch or more overlap on the outside, then cut out the center. You don't have to be perfect here because it's all going to get tucked in. Fold the outside edge over the wreath frame and tuck it under the next round of wire.


Cut slits around the inner edge to help accommodate the inner fold over.


When you are done folding in the inner edge it should look something like this.


Now it is time to fill it with dirt, be generous, heaping the dirt into mounding piles all the way around.


Cover the other frame in exactly the same way. Place it over the the frame you covered and filled with dirt.


Make slits along the way and stuff the flowers in. I soaked my Impatiens and removed all of the extra dirt so that they would fit into the small slits. Wrap with floral wire in-between each addition of flowers to hold the dirt in and the two frames together.


Soak generously and let it sit for a couple of days watering thoroughly each day. Continue to water it by using a spray bottle each day or taking it down and watering horizontally. If you choose to use a spray bottle, you still need to take it down every couple of days and give it a generous soak. You'll also want to rotate your wreath every couple of days.


Enjoy!

Here's the rest of my front porch :-)


I love the little fishy pillow!


Secret Sister Gifts

This year was kind of a fun year for the girls. It was just a ward camp, so super low key and nice. It was a short camp, so Madelaine only had to come up with a few Secret Sister gifts. We used her sister's personal questionnaire to come up with the ideas.


Monday, June 8, 2015

Hummus

I am for sure a hummus lover, I'm used to paying grocery store prices, but this weekend I decided to try to make my own. Not only did I save a few dollars, but I don't think I'll ever be able to go back to the grocery store hummus. This recipe was simply delicious!

Hummus:

1/3 cup Tahini
1/3 cup fresh lemon juice
2 Tablespoons of olive oil + a little extra to drizzle once finished
1 teaspoon salt
1 large garlic clove
1/2 teaspoon ground cumin
One 15-ounce can of chickpeas (AKA garbanzo beans)
2 to 3 Tablespoons water
Dash of paprika

Cream the tahini with the lemon juice by combining them in your food processor. Scrape down the sides and process for another 30 sec. Add in the olive oil, salt, chopped garlic, and cumin. Process for a minute or so, scrape down the sides and repeat. Add in the chickpeas. Blend for about a minute, scrape down the sides and repeat. At this point you may want to add in some of the water to get the consistency you prefer. Spoon into a serving bowl, drizzle with olive oil, and sprinkle with paprika. Enjoy, you will be in heaven, I know I was!


Thursday, June 4, 2015

Korean Lettuce Wraps

When Chad was growing up he lived in Korea for a time. These little lettuce wraps have become one of my very favorite meals to dish on! I kept it simple this time, but you can definitely add many more sides of veggies and varieties of meats. I went with barbecue beef, radishes, spinach, cucumbers, and a little rice.


Radishes:

1 lb Daikon radish (I used regular because our store was out, but they tasted great anyway, and the color was beautiful!)
1/3 cup rice wine vinegar
1/3 cup sugar
2 tsp salt
1 tsp Korean red chili powder
Sesame seeds

Mix vinegar, sugar, and salt in a bowl. Add in radish and chili powder and turn over a few times. Set aside and mix every 15 minutes or so for about an hour. Refrigerate for at least 2 hours. Garnish with sesame seeds and serve cold.

Spinach:

1 bunch of spinach
1/4 teaspoon sugar
1/4 teaspoon salt
1/2 teaspoon soy sauce
1 Tablespoon sesame oil
1 teaspoon sesame seeds for garnish
6 cups of water and 1 teaspoon salt to blanch

Heat water and salt to a boil and add in the spinach to blanch. Watch to see when it brightens and then take it out quickly. Place the spinach in an ice water bath to cool it quickly. Drain it and squeeze all the water out. Roughly chop it and place it into a bowl. Mix in all ingredients, toss, and garnish with sesame seeds.

Cucumbers:

3 English cucumbers, peeled, seeded, and cut into 2 inch strips
2 TBSP salt
6-7 dried chilies
4 TBSP rice vinegar
4 TBSP sugar
2 tsp minced garlic
2 tsp chili oil
1 tsp salt

Place the cut cucumbers in a bowl and sprinkle the 2 TBSP salt over them, stir and let sit for about two hours. Rinse with water and drain. Using two layers of cheese cloth, squeeze out as much of the water as possible. Mix in the rest of the ingredients. (I usually hold off on the rest of the salt). Refrigerate for 24 hours.


Beef:

10 lb beef, any part for grilling
3/4 cup soy sauce
3/4 cup sugar
3/4 cup water
2 tsp pepper
2 TBSP sesame oil
2 inches piece of ginger
1 small onion

Slice beef into 3X3 inch pieces. Roughly chop onion and ginger. Put all of the ingredients into a blender except for the beef and mix well. Cover the meet in the marinade and let set overnight or up to 24 hours. Grill.


Roll them up in a lettuce leaf and enjoy! I like to layer mine with the rice on the bottom, then the meat and the veggies. YUMMM!