

Registration for teams opens up May 5th, 12PM ET. http://www.firstlegoleague.org/country/united-states
Teams consist of a Head Coach, a second Coach, a mentor if you can find one, and between 2 to 10 kids. The age for FLL participants ranges from 9-14. A participant CAN be 15 so long as his/her birthday is after January of that year. So for example a student who turned 15 in Nov of 2014 would not be eligible, whereas a student who turned 15 as of Feb 2015 would be able to participate. If you have more than 10 students who are interested in participating then you need to form a second team or make the difficult decision of who to keep and who to cut. Students can only be a member of one team whereas coaches can have several teams. Coaches must go through a screening process which takes only a couple of minutes online and then a couple of days to hear back. Coaches must be 18 or older. Students can be added or dropped throughout the season up until just before competition. Each Team member will need to have a consent form signed. http://www.usfirst.org/uploadedFiles/Robotics_Programs/Consent_and_Release_Form.pdf
It is up to the Coach to initiate and start a team. This is most often done from scratch, based on the interest of one or two highly motivated students. It is very hard to find an existing team unless someone you know is organizing one and invites you.
Just a note on ages and forming your team(s): Having a mix of ages and talents is a good idea when forming a team. You don't necessarily want all of your strongest players on one team. In my experience the most successful teams have student leaders who are ready to step up to the challenges that come and also kids who are just getting their feet wet. Last year we had exactly 10 kids who wanted to participate. 10 kids is A LOT. I don't recommend it, not because it is hard to work with 10 students, it is, but because it limits the opportunities for learning and leadership for the kids. Too many participants leaves students with too much "down time" and not enough hands on time. Somewhere between 4-6 is probably ideal. We made the decision to split our team into two teams. This was possibly the best decision we made all season long. We had a couple of seasoned veterans on one plus a few who were highly motivated but had never participated. I think it was a good learning experience for all. The kids who had never participated got to learn from the best and get a feel for what success looks like. The more experienced members got to take on roles of leadership and the responsibility of teaching others, which I think is always great for developing character. On the other hand the other team was made up of all rookies. Taking into consideration the dispositions of all 10 kids, this I believe was the best division for each child participating. Even though the second group of students were made up of all rookies we had leaders emerge who would for sure have not had that opportunity had they been on the other team. They had what I would consider a great opportunity to shine and lead, whereas they would have most likely been pushed to the background had they been on the other team. So if you are in the position of having to split a team consider your kids carefully.
Here are just some interesting statistics
Kids who participate in FIRST programs are:
- 50 percent more likely to attend college
- Twice as likely to major in science or engineering
- Three times as likely to major specifically in engineering
- Young women in FIRST programs are four times more likely to pursue science and engineering in college
- Minority members of FIRST teams are more than twice as likely to enter the fields of science and engineering
Cost: (These are basic necessities)
Registration to the National Organization is $225
Registration to a local event is $100
Competition Table: About $50 to build
Field Kit: $75 plus taxes and shipping, mine came to about $87 to be delivered to Bountiful, UT
Robot: They are currently using the Mindstorm EV3, but the old NXT is also doable: $443.95 plus shipping and taxes about $490. This includes the software pack, otherwise you will have to purchase it separately which increases your cost by a very small amount. It is super important that you order your EV3 through the lego education site. Do not order through the normal Lego site because it is a different robot with different capabilities. The best way to order your robot is after you have registered your team. You can do it through the FLL team site. The advantage to this is that during the competition season the software can be shared among the team, meaning they can use it at their homes. Most teams, unless you are affiliated with a school have software that has a single use agreement meaning that the software can only be used at one location on one device. If you order through the FLL team site the software can be shared just through the competition season and then after it reverts back to a single use agreement.
You will also need a computer/laptop to run the software on. $700-$1,500 depending on what you choose to use or have already available.
Also, you will want to consider any travel costs you may have.
Total Cost not including the laptop and travel is approximately: $952
If you are going to share costs across team members each participant would need to contribute:
$95.20 for a 10 member team
$105.78 for a 9 member team
$119.00 for an 8 member team
$136.00 for a 7 member team
$158.67 for a 6 member team
$190.40 for a 5 member team
$238.00 for a 4 member team
$317.34 for a 3 member team
$476.00 for a 2 member team
Optional and recommended costs:
"uniforms": The sky's the limit, but this can easily be done for under $10 a participant.
Treats and Trading Pins for competition day: $30
Expansion pack: $99.95 plus shipping and handling about $115.00
Here is the link for instructions on how to build your FLL table:
http://www.firstlegoleague.org/sites/default/files/Challenge/TeamResources/NaturesFury/2013-14TableOnly.pdf
Here's a good idea of what your year may look like:
May: Team Registration begins as of May 5th, 12 PM ET, don't forget to register for a local event! This is also a good time for coaches to research how everything works and what to expect. It's also a good time to start any fundraising efforts.
June-July: Because the challenge has not yet been released, this is a good time to set team goals, come up with trading pins, and have a few low key meetings. If you are a new team, you can familiarize yourself with the robot by building a few of the models that come with the robot. You can learn how to program the robot and how the sensors work.
Aug: Ready, Set, LEGO.. Each year the FLL releases a new challenge which focuses on a different scientific topic or question. The Challenge has three parts: the Robot Game, the Project, and the FLL CoreValues. At this time teams can begin ordering their field kits and putting together their table if they don't already have one.
Sept: Build Missions and get your table set up, PRACTICE, PRACTICE, PRACTICE! Organize and decide on your project, pass out assignments. Work on your Core Values.
Oct: PRACTICE, PRACTICE, PRACTICE! Continue to work on your project and check back with assignments made. Work on your Core Values.
Nov: Think about organizing a friendly competition with another team. PRACTICE, PRACTICE, PRACTICE! Continue to work on your project and check back with assignments made. Work on your Core Values.
Dec: Your project and Core Values should be completed by the first week in Dec, otherwise with holidays etc. it just gets too hard. Continue to tweak your robot and missions. All of the work should essentially be done at this point, you are just cleaning things up a bit and running your missions over and over, practicing handoffs and changing attachments.
Jan: Competitions begin! Have FUN!
Feb-Apr: If your team(s) do well at their local event they may be invited to participate at State. Otherwise this is a good time to schedule an after party and congratulate the kids for all of their hard work and efforts. You can review the judges comments about your Project, Core Values, and Robot Design. You can set goals for the following year, find out who will be continuing on, and have fun just playing with the robot instead of focussing on missions. Refreshments are a definite plus :-)
Basic Terminology (pics below):
The Robot: The most current model used by the FLL is the EV3 Mindstorm, but some teams are still using the older NXT model. The robot consists of a programable brick (the brain), lego components, and sensors, which students use to build a robot capable of completing specific missions.
The Field: The field is where the Robot Game takes place. It occupies the space between the walls of your table. It consists of a field mat, on a table, with mission models arranged on top.
The Field Set Up Kit: The field set up kit contains all of the mission models and the mat. It comes with all the components and directions you need to properly set up the field.
Mission Models: Mission Models are made up of Lego components and require the robot to complete a task for points during the match. Last year the most popular mission for our boys was the soccer goal. In order to receive full points the robot had to be behind a shot line and launch a soccer ball over an obstacle and into the soccer goal. For maximum points the soccer ball had to remain within the goal box. https://www.facebook.com/maizie.brown.9/videos/10152660739563366/?pnref=story
This looks very simple, but it took the kids hours and hours of work!
Missions: A mission requires the robot to engage the mission model and leave it in a certain condition during or by the end of the match. A team may choose to attempt any and all of the missions. The team decides in which order and how they will design their missions.
Match: Each team will get to attempt 3 two and a half minute matches. 2 tables are adjoined side to side and teams compete simultaneously. Your team is judged based on their highest of the 3 scores.
Base: Base is an area marked off on your field mat, although 2D it has imaginary volume :-). The Robot or it's attachments cannot be outside of base at certain times during the match, nor can the robot exceed the volume of the base. Base includes the length and width of the box depicted on the field mat as well as the imaginary 12 inch height.
Attachments: Most teams create a base for their robot with interchangeable attachments, arms, etc. to complete various missions. The attachments are the part of the robot that get put on and taken off at different times during the match. This should be done while the robot is in base otherwise there are touch penalties.
Basic Recommendations:
Based on the experiences I have had as a coach I would recommend having a dedicated weekly practice to work on the Robot Game. In addition to a dedicated weekly practice, I would suggest getting together an additional once or twice a month to focus primarily on the project and core values. This is the part the kids aren't necessarily thrilled about, but without are not eligible to place at their local event which would keep them from going on to state and beyond.
It can be helpful to use something as simple as a sticky note with a label that says "don't touch" on attachments that have been successfully created and tried. The programming works in harmony with the design of the robot. Change the design and the programming will most likely no longer function as it was intended. When our team first started they were building and taking apart attachments right and left. We would get something that worked and then come back to it having been completely disassembled. Which essentially meant that we had to start from scratch AGAIN!
Having a designated safety tote for the robot for competition day is also recommended. I heard of one team who on competition day dropped and broke their robot in between matches and could no longer participate.
At competition teams like to share a little piece of themselves. This is often done through trading pins, treats, or some kind of interactive experience. If you are preparing treats, a good suggestion would be to prepare for about 100 kids. Last year's challenge was all about learning. One of the teams had mini nerds candy boxes with a sticker attached that had their team name and a cute little saying. That is just one example of how a team might choose to "share".
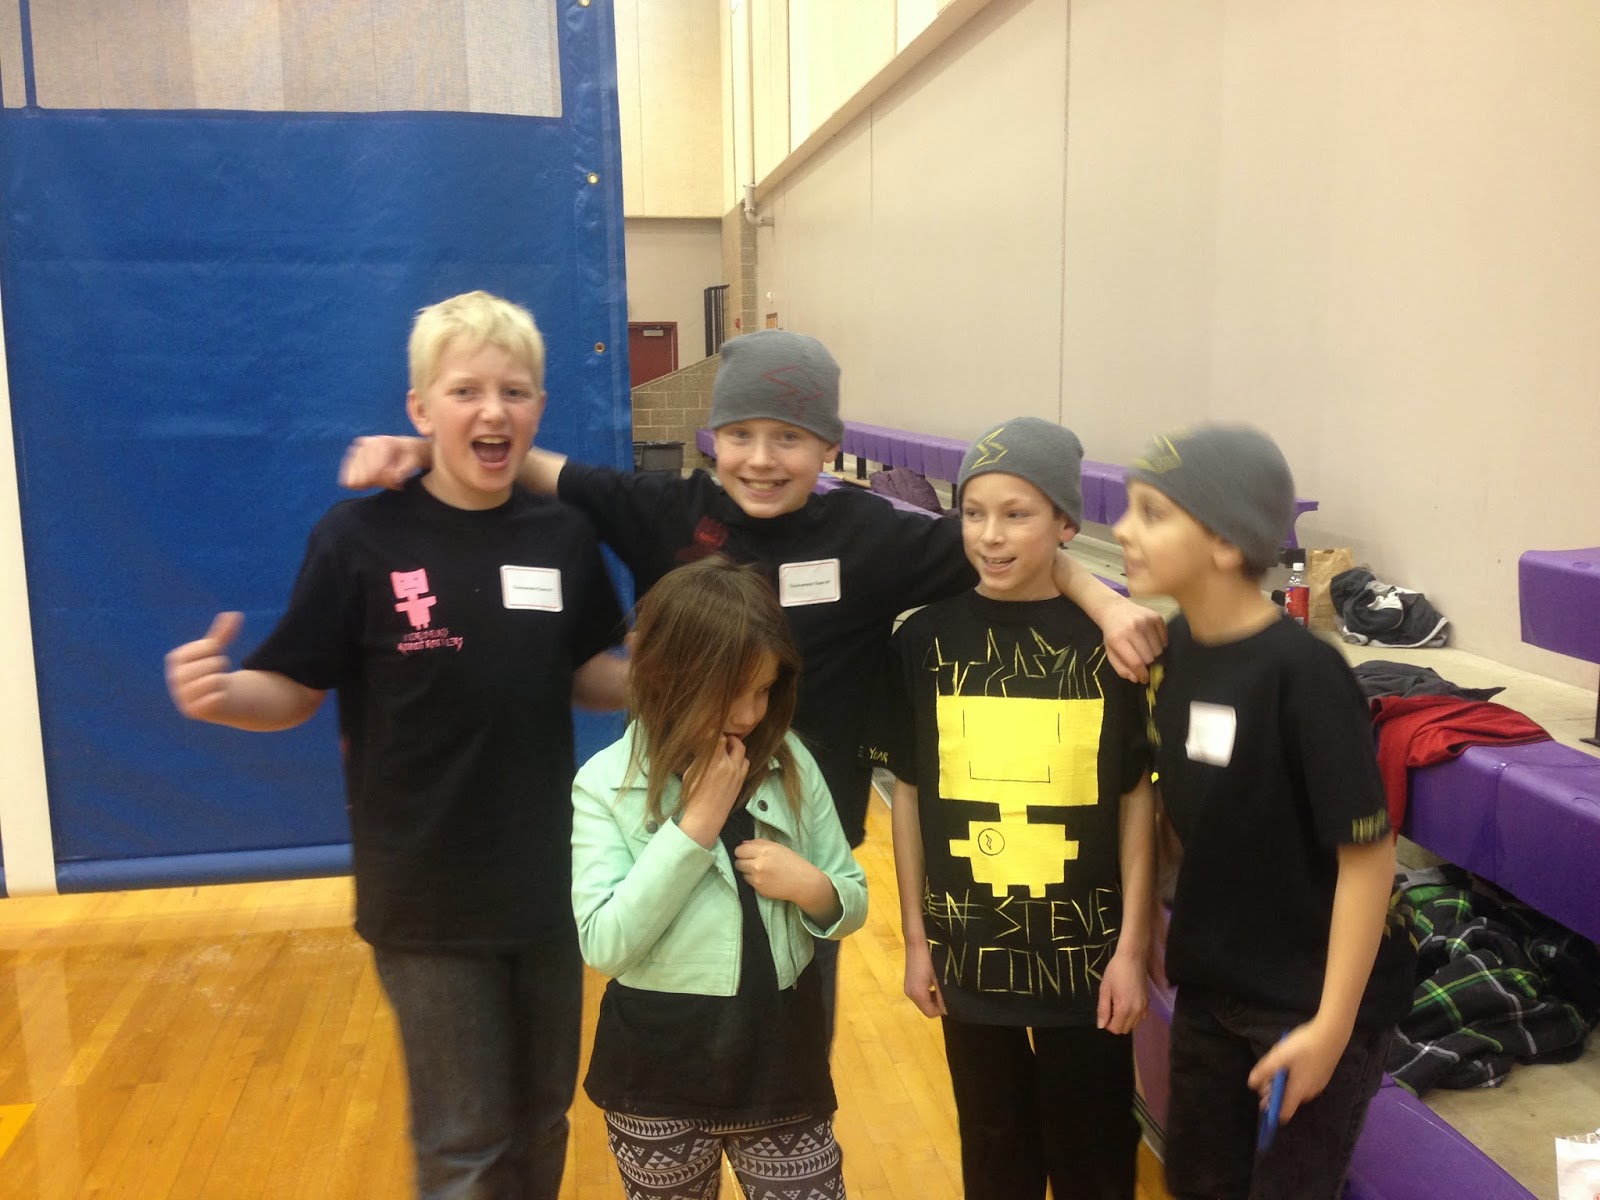
Also, at competition, team spirit is definitely an important/fun factor. Teams wear matching T-shirts, carry banners or signs, create chants, and all kinds of fun displays of team spirit. Some teams even have mascots. The sky's the limit on this one, so it's up to your team, but I wouldn't recommend anything less than matching T-shirts. Some teams also use the theme for the year to come up with their "uniforms". For example one year's theme was Nature's Fury, part of the challenge was to create an innovative solution that helps people prepare, stay safe or rebuild. One team chose to wear hard hats as part of their costume.
Competition day can be a bit hectic. The more prepare your team is the better off everyone will be. An example of a typical competition day looks something like this:
9 AM- 12PM Project, Core Values, and Robot Design Judging. Your team will not actually be judged for 3 hours straight :-) each session is about 15 min, and you alternate in between sessions with other teams. So there is ALOT of down time. This is a great time to make any last minute tweaks to your robot.
12 PM - 1 PM: Lunch
1PM - 2PM: Robot Games
2PM - 3PM: Closing Ceremonies and Awards
Every host will arrange their competitions differently, but this is a good example of what a typical competition Schedule looks like.
Core Values:
We are a team.
We do the work to find solutions with guidance from our coaches and mentors.
We know our coaches and mentors don't have all the answers; we learn together.
We honor the spirit of friendly competition.
What we discover is more important than what we win.
We share our experiences with others.
We display Gracious Professionalism® and Coopertition® in everything we do.
We have FUN!
Each team is responsible for putting together a presentation board to use during the judging session. More information can be found through the FLL website.
The Project:
The Project changes each year. The FLL gives a theme and a mandate, but it is up to the team to decide the specifics of their project. It's kind of like doing a science experiment but different. Much like science fair projects the team creates a board to highlight the details of their project which they share with the judges.
Robot Design:
The team will have an opportunity to share their Robot Design with a panel of judges. They can tell the judges what they think they have done successfully, what kind of attachments they have created, and the specific programming they have used to accomplish the missions.
* I should state that all of the information I have described is based on my own personal experience and based on the most current information available. The FLL sometimes changes it rules even within a given season, and on occasion changes the robot being used, so any and all of the information I have provided is subject to change at any point in time. For the most part though, I think it is good info :-)
My best suggestion if you want to delve in further is to go to the US FLL website and read everything you can, follow all of the links. You will find that you gather bits of info from each of their links, it is a bit of a maze. I have learned from experience that I cannot expect to get all of the info I need from following just one link. You really do have to piece everything together unfortunately. You will end up getting one bit of info from one link and then clarifying info from another link all within the FLL official pages!
If you have any questions or comments feel free to leave a comment in the comment section or contact me at Maiziedaizy@yahoo.com
The Field

How it Comes


The Robot
The Robot

Our Cooky Team

We Share our Project

We Eat

and Eat

and Eat

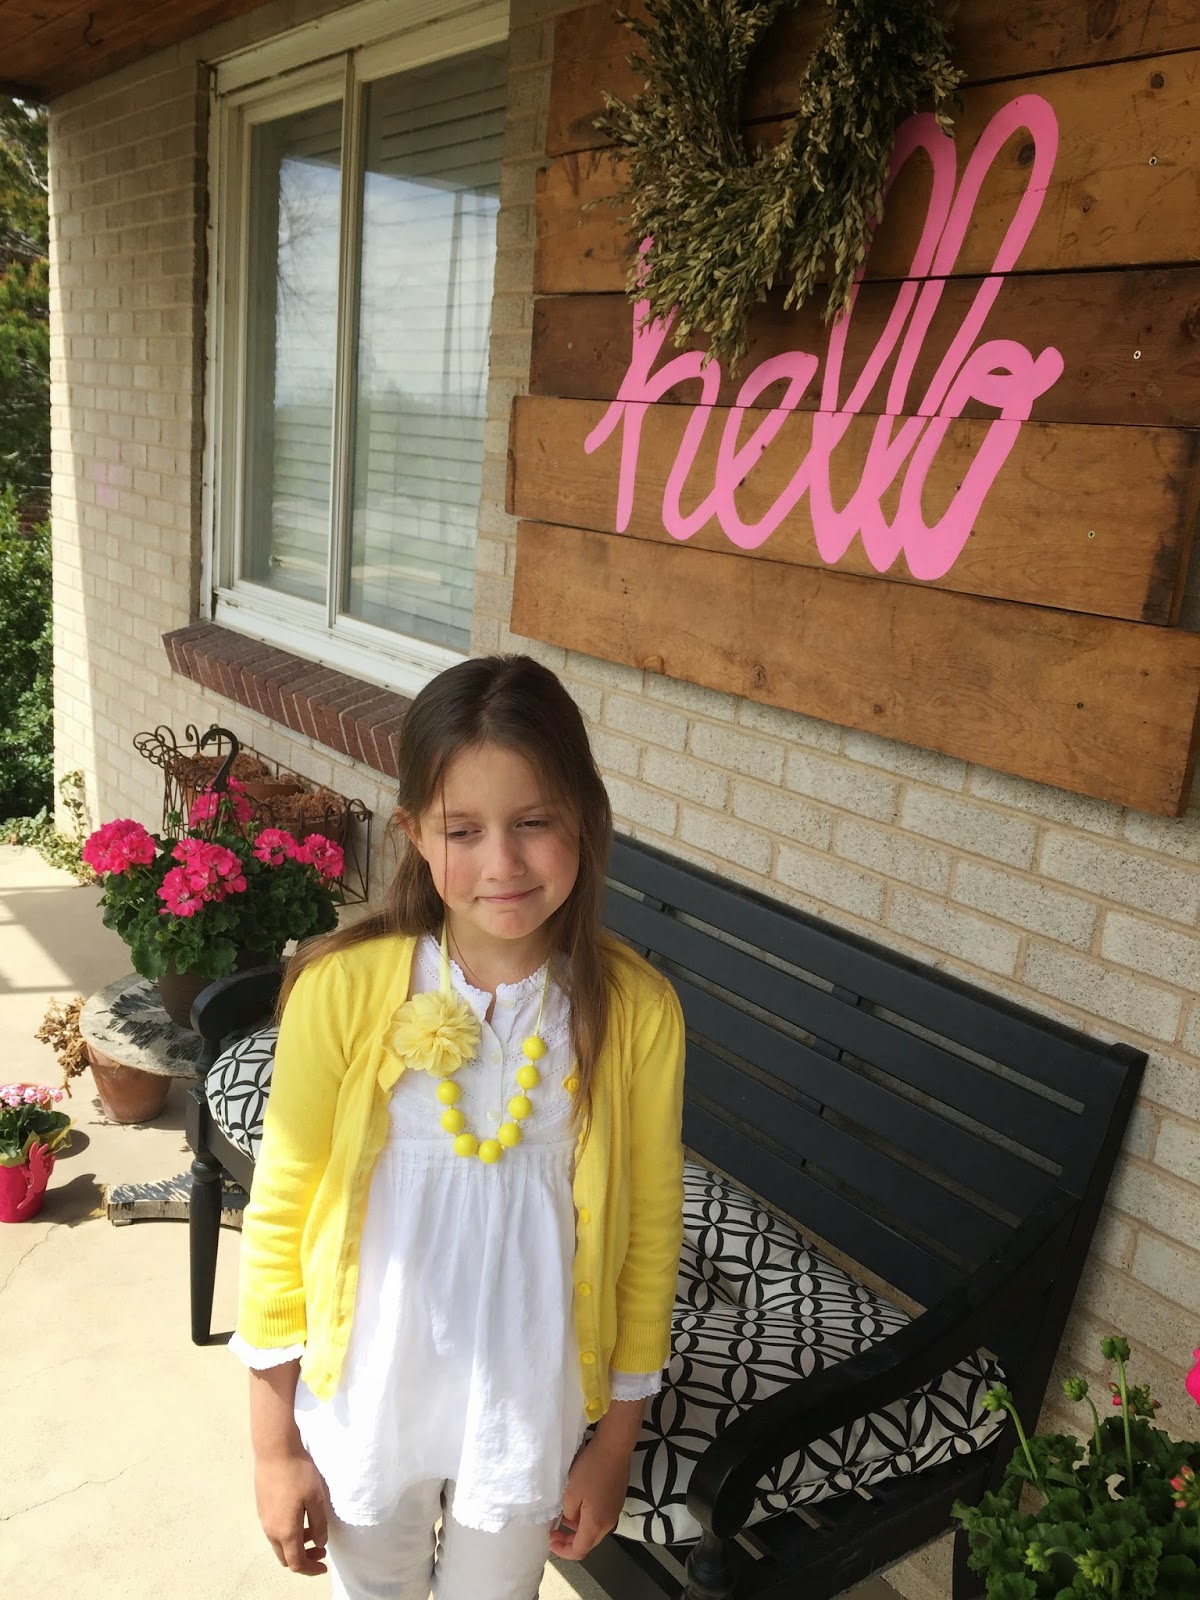
Our T-shirts


Competition Day


Our Project Board

Our Core Values Board

What fun!


