Wednesday, July 16, 2014

How To Make Your Own Bunting


Making your own bunting is great fun! I enjoy being able to pull from the few strips of bunting that I have and dress any occasion up. This Halloween bunting was actually a "firsts" shower gift for a friend of mine.

Materials:

7 inch strip of 42 inch wide fabric (7X42)
7 inch strip of 42 inch wide fabric for backing
Enough 7 inch strips of interfacing to cover all of your triangles. This will depend on how wide your interfacing and how many triangles you want to use in your bunting. (I only used 7 for mine.)
Double folded bias tape
Matching thread
Opt: a piece of fabric and doubled sided interfacing 81/2 by 11 to create lettering.

To start cut a 7 in strip of fabric.


The next thing you will want to do is create your triangles. For this particular project I used 7 in triangles. Your strip is already 7 inches tall. To make your first cut mark the top of your fabric at 0 inches and 7 inches. Mark the bottom of your fabric at 3.5 inches. Now using your roller cutter and ruler cut from the top (0 in) to the bottom (3.5 in), and then again from the bottom (3.5 in) to the top at the 7 in mark.


Continue cutting following that pattern. The top should be marked at 0in, 7in, 14in, 21in, 28in, 35in, and 42in. The bottom should be marked at 3.5in, 10.5in, 17.5in, 24.5in, 31.5in and 38.5 inches. When you are through cutting you should have a total of 11 triangles (for 42in wide fabric).

After you are through cutting the tops of your bunting, repeat the process with the interfacing and the backs of your bunting.


 Follow the manufacturers directions to adhere the front and backs to the double sided iron on interfacing.


After all of the triangles are complete use pinking sheers to cut along the sides of your triangles. Top stitch double folded bias tape along the top of your bunting sandwiching the triangles in between the layers of the bias tape.


If you want to add some lettering this is one way of doing it:

First I cut a piece of white fabric and some double sided interfacing to 81/2 by 11 inches (the same size as a standard sized piece of paper). I used a paper backed interfacing meant for applique. Then I adhered the sticky side of the interfacing to the white fabric and left the paper backing on. Next I ran my fabric through the printer and printed the letters for SPOOKY! out. I used this set of frames for my Stizzix to cut the letters out.


After I cut the letters out I pulled off the sticky back and ironed the letters onto the finished bunting.
Hope you found this tutorial helpful!

For other Halloween "Firsts" Click HERE

http://bumbledo.blogspot.com/2014/07/a-firsts-bridal-shower.html

http://bumbledo.blogspot.com/2014/07/a-firsts-bridal-shower.html

http://bumbledo.blogspot.com/2014/07/a-firsts-bridal-shower.html


A "Firsts" Bridal Shower

I got this cute invitation in the mail for one of my friends. It was for a "Firsts" bridal shower. The invite read:

Elizabeth and Miles are getting married and their lives will start anew, so we're having a bridal shower for the "First" things they'll go through! Their brand new life together will be so much more than dating, there will be so many "First" things, When they're through celebrating! There are things they will be needing, As a new husband and wife, to help them to adjust to these "First" things in their life. So think and be creative with a gift that will be fine. To help this sweet new bride and groom with the "First" you are assigned! Please bring a gift for Elizabeth and Miles "First" Halloween.

Well actually I got Christmas, but I wasn't feeling very JOLLY. The invite said "or other holiday" so I went with Halloween!

This was such a fun idea! My ideas were a bit spread out, but I tried unify them a bit. The very first thing I wanted to do was my favorite way of decorating for Halloween.


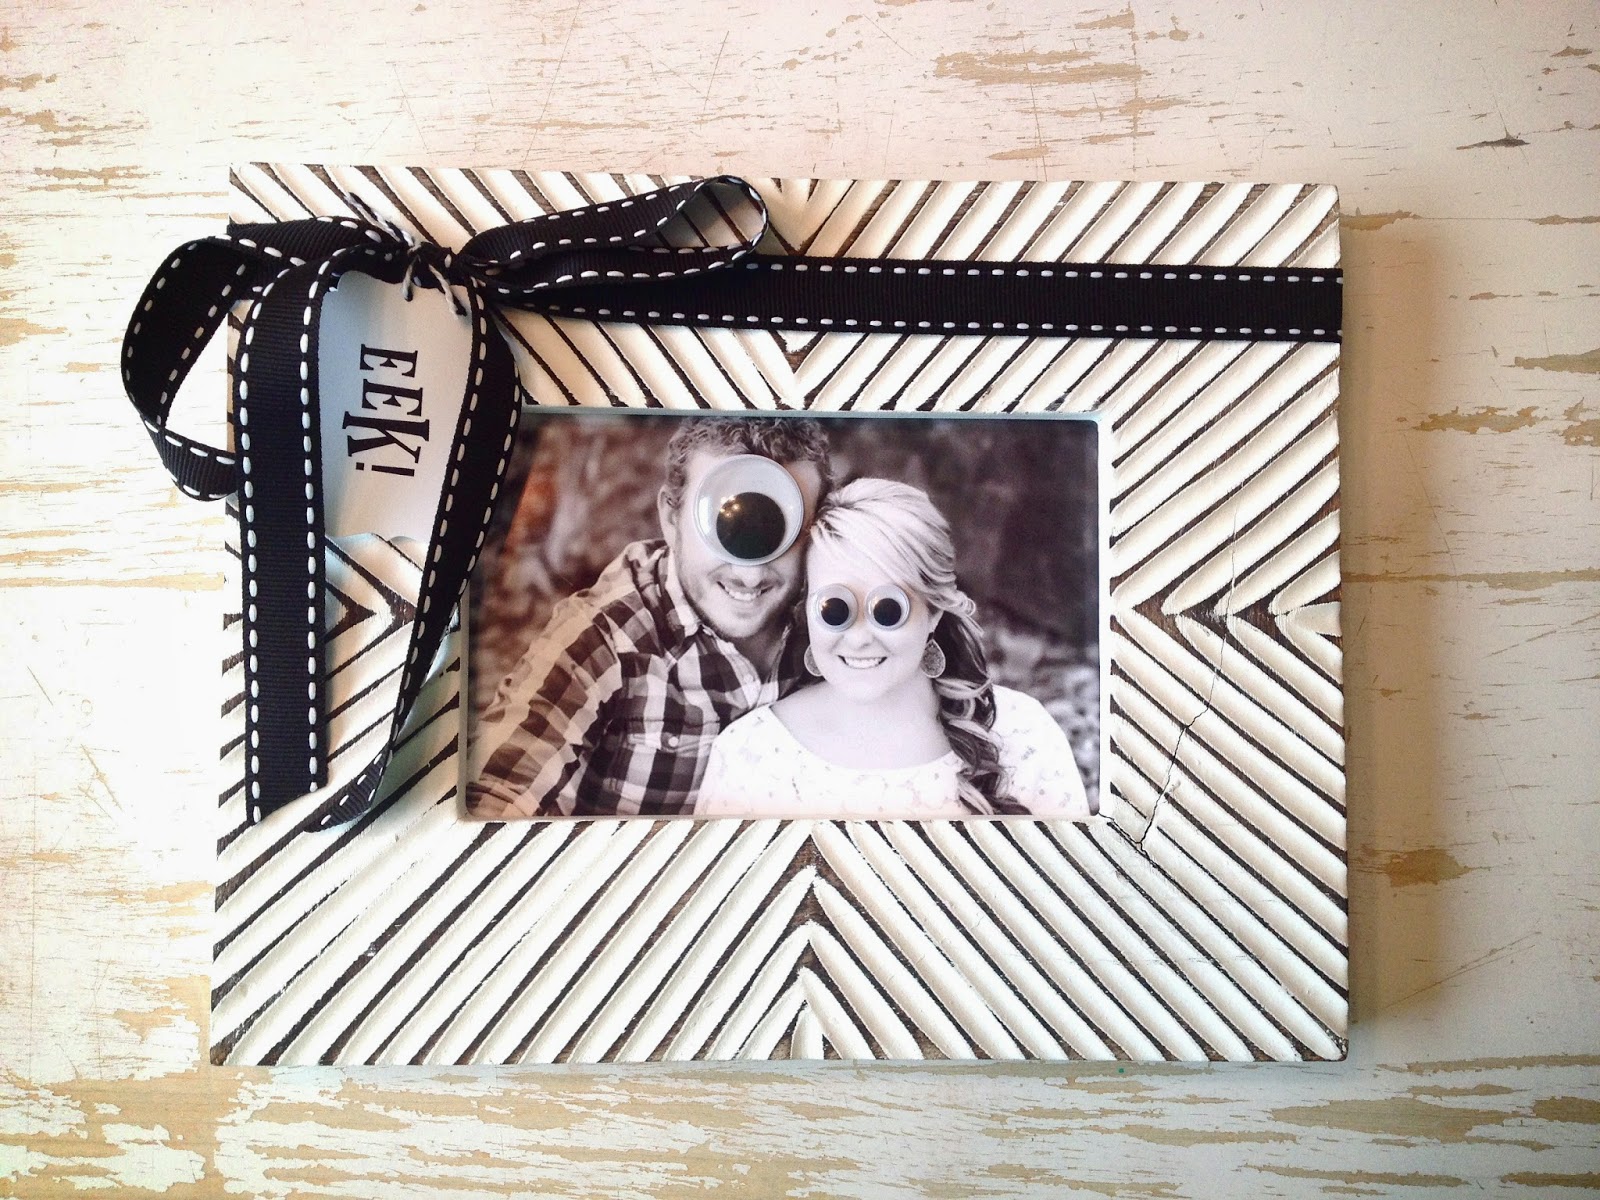
It's so super easy! Around the beginning of October I usually just add googly eyes to the tops of the glass of the photos I usually keep out. It's a fun and easy way of decorating for Halloween. When it's through, I just pop the googly eyes off. For this particular gift, I think I actually put the glass under the photo and glued them straight onto the picture in case she wanted to use the frame for something else. I snagged the photo off of her Facebook page.Thank you Facebook!

I also made her some SPOOKY Halloween bunting to use as decoration.


I used my Stizzix to cut out the letters for "SPOOKY" and used an iron on interfacing to attach them. For a quick tutorial click HERE.

One of my other favorite Halloween decorations is a covered book. These are meant to be spell books. Covering the books was a simple task and took little to no time. I found these almost untouched Nancy Drew books at the DI for .99 cents. One was about a ghost and the other a witch, so it seemed appropriate :-). The paper I used was flocked scrapbooking paper. I printed and cut out the titles and added some fancy ribbon as place keepers.


But what good is a Grimoire without a little decomposed MUMMY powder? For how to UPCYCLE your old jars click HERE.

I had a lot of fun coming up with these ideas, but I also wanted to give her some functional things. When Chad and I were first married we got a pair of stainless steel measuring cups and measuring spoons. They are my favorite and have lasted over the years. I thought I could find her a pair and tie them in pretty easily.


And because I love a good painted spoon, I decided to include one of those too. Click HERE for the tutorial on painted spoons.


Last, but not least, I included one of my favorite non-alcoholic drinks. You can find the free elli blog printable by clicking Here.


http://www.elli.com/blog/wp-content/uploads/2012/10/HalloweenBottleLabels.pdf

Hope you have a very SPOOKY "first" halloween!


Monday, July 14, 2014

If I Only Had a Brain?

It's summertime and my kids have way to much free time! We're working on that, but in the meantime I wanted to create a system for them to budget their time with technology and have them be accountable for it. I'm not much of a police woman, I try to teach them to be accountable to themselves, but they needed just a little structure. This idea appealed to me the most. They each get 10 30 minute coupons to use during a one week period (which works out to be 5 hours a week). They can choose to use them all at once (provided their chores are done) or they can choose to spread them out, but when they're gone, they're GONE!


We also enjoyed visiting The LDS Youth site and watching a few of their 2 minute videos about making wise choices when it comes to technology. As a family we discussed some of the Mormon adds regarding technology and what we thought the message was supposed to be. The power cord cut out was one of my favorites. Here's the link for the Mormon adds.

https://www.lds.org/youth/article/outsmart-your-smartphone?lang=eng


Favorite Chocolate Chip Cookie Ricipe.


Here is the recipe I used for our "Be the Chip" Cookies. It is my very favorite.

Ingredients:

1/2 cup of butter softened (1 stick)
1/2 cup of shortening
3/4 cup sugar
3/4 cup brown sugar
2 eggs
2 teaspoons vanilla
2 1/4 cups flour
1 teaspoon baking soda
1 teaspoon salt
12 ounces of Semi-Sweet Chocolate Chips

Instructions:

Heat oven to 375 degrees. In a large mixing bowl, mix butter, shortening, and sugars at medium speed until light and fluffy. Add eggs and vanilla and mix until incorporated. Sift the dry ingredients together and add gradually to the creamed mixture. Drop in rounded Tablespoons onto an ungreased cookie sheet. Bake for 9 to 11 minutes or until golden brown. 

Enjoy!

Click here to see what we did for "Be the Chip", it's all about withstanding adversity.


Saturday, July 12, 2014

Daughter of God Week: Mission Possible Style

http://bumbledo.blogspot.com/2014/06/prayer-rocks-for-daughter-of-god-week.html

This year we did a Daughter of God Week (Mission Possible style) to get our girls ready for YW Camp. I blogged each day separately, but I thought I would do a summery with the links to each day for complete quotes etc. The first day was a prayer challenge and prayer rocks. Click here for more info.

http://bumbledo.blogspot.com/2014/06/bread-and-bom-reading-charts-for.html

The 2nd day was a scripture reading challenge with fresh baked rolls. "The scriptures are meant to be used like bread... for daily use, not like cake... for just special occasions." Click here for more info.

http://bumbledo.blogspot.com/2014/06/daughter-of-god-week-day-3.html

The 3rd day was a secret service challenge and came with some Bit-O-Honeys. Click here for more info.

http://bumbledo.blogspot.com/2014/06/daughter-of-god-week-day-4.html

Day 4 was about repentance. We used the Pencil Maker Story and the girls each got a fun pencil.  Click here for more details.

http://bumbledo.blogspot.com/2014/06/daughter-of-god-week-day-5.html

Day 5 was about gratitude and we used Dieter F. Uchtdorf's Golden Ticket talk. Click here for all the details. 

http://bumbledo.blogspot.com/2014/07/daughter-of-god-week-day-6.html

Day 6 was probably my favorite. It was all about withstanding adversity. Each girl got a freshly baked chocolate chip cookie and the quotes to go along with the day. Click here for more info. 

http://bumbledo.blogspot.com/2014/07/daughter-of-god-week-day-7.html

Day 7 was about our Divine Nature. We used the quote "Be the Light". Click here for more info.

This was such a fun week! It was a ton of work, but I loved delivering all the quotes and tokens each day. If anything it blessed my own personal testimony and increased my love for the girls.


Monday, July 7, 2014

Be BRAVE, It's a Jungle Out There Camp T-Shirts

Here's how our camp T-Shirts turned out!


This was my inspiration:


“An anthropologist proposed a game to children in an African tribe. He put a basket full of fruit near a tree and told the children that whoever got there first won the sweet fruits. When he told them to run, they all took each others hands and ran together, then sat together enjoying their treats. When he asked them why they had run like that when one could have had all the fruits for himself, they said, ‘UBUNTU, how can one of us be happy if all the other ones are sad?’
(‘UBUNTU’ in the Xhosa culture means: ‘I am because we are.)”

To make the shirts we started out with a wax paper template one of the leaders made using her cricket or Silhouette. We painted first with either white or silver paint and followed with a fabric glitter glue and glitter. I bought several colors of T-shirts and let the girls pick their favorites. What a year to remember!

Camp Activities and Pillow Treats

Here are some of the pillow treats we are going to use at Girls Camp. I've tried to combine an activity with each treat.

The nail polish etc is to share, but each girl will get her own little bag of taffy that has a tag that says: For beautiful eyes, look for the good in others; for beautiful lips, speak only words of kindness; and for poise, walk with the knowledge that you are never alone - Audrey Hepburn


The next one is a mustache sucker and a box of conversation Jenga. I thought they would be fun! Each Jenga piece has a question that the YCLS came up to ask each other as they play.


The last one is a Starburst bag with a quote that says: To be a star you must shine your own light, follow your own path, and don't worry about the darkness for that is when the stars shine brightest. I got a bunch of glow bracelets for the girls to wear for the night :-) I think it's going to be a fun week!


Girls Camp 2014

Aren't these girls AMAZING! Thanks for making Heber 2014 so wonderful!


I totally forgot to take a picture of our we love camp sign while up at Heber Valley, but we put it at the front entrance to the trail that lead to our campsite. This is just in my backyard.