


Mikel-ann and I had so much fun doing the color run! it was definitely the right run for us, no pressure, just a whole lot of color, bubbles, music, and fun. After the run we had to walk back to our car which was just past the farmers market. On the way through we stumbled onto this wonderful table full of wooden painted cake plates, they were so fun to look at and I'm kind of a cake plate freak. I collect them. I really wanted to buy one, but decided it would be so much more fun to make one... or three!
Here's how my first one turned out. At the booth he had both cake stands and cupcake stands. I thought how fun it would be to put a special birthday cupcake on a special plate, so this is actually a cupcake cake stand. I really love it! I also made a full sized cake stand and a mini cake cake stand.
The process was pretty simple and required just a few supplies.
Materials:
Unfinished wooden base
Unfinished wooden table leg
Unfinished wooden round
Screw(s)
Wood fill
Sanding blocks (medium and fine)
Wood glue
Paint suitable for wood
Wood stain
I was able to get all of these supplies between Lowe's Hardware and Michael's Craft stores.
1. Sand all of your wooden components until they are no longer rough and very smooth to the touch. Start with the medium grit sanding block and then move on to the fine sanding block. Wipe dust away with a damp cloth.
2. I found it easiest to do my first coat of paint on the individual pieces before they were connected. You will actually want to do two coats of paint leaving a few minutes in between each coat of paint. The paint dries rather quickly. I used the 50 cent acrylic paint from Walmart. I also blended two to three colors to get the desired shade.
3. After your paint has dried, give it a day or two, sand it down and rough up the edges a bit. Wipe the dust away with a damp cloth.
4. Now it is time to connect all of your pieces. Here's what worked best for me. I found the glue and the wood filler at Lowe's.

Start by marking your centers and either gluing or screwing and gluing your pieces together. The glue works rather quickly, and per usual less is more with Elmer's. Wipe any excess glue away immediately with a cloth. Give The glue a day to dry.
5. Use the wood fill according to directions if needed. I had a hard time finding rounds without holes in the middle. The day I went to Michael's their wooden section was pretty wiped out, 2 of the 3 round pieces I found were intended for clock making and so had holes in the centers. I filled them with the wood fill, sanded and repainted.
6. Do a second coat of paint, well actually 2 a few minutes apart, so a total of 4. You can alter the shade a bit so as to make the 1st shade peak through a bit after you have done your final sanding.
7. Give your last coat of paint a day to dry and then sand it down until it is very smooth and bits of the wood are peeking through.
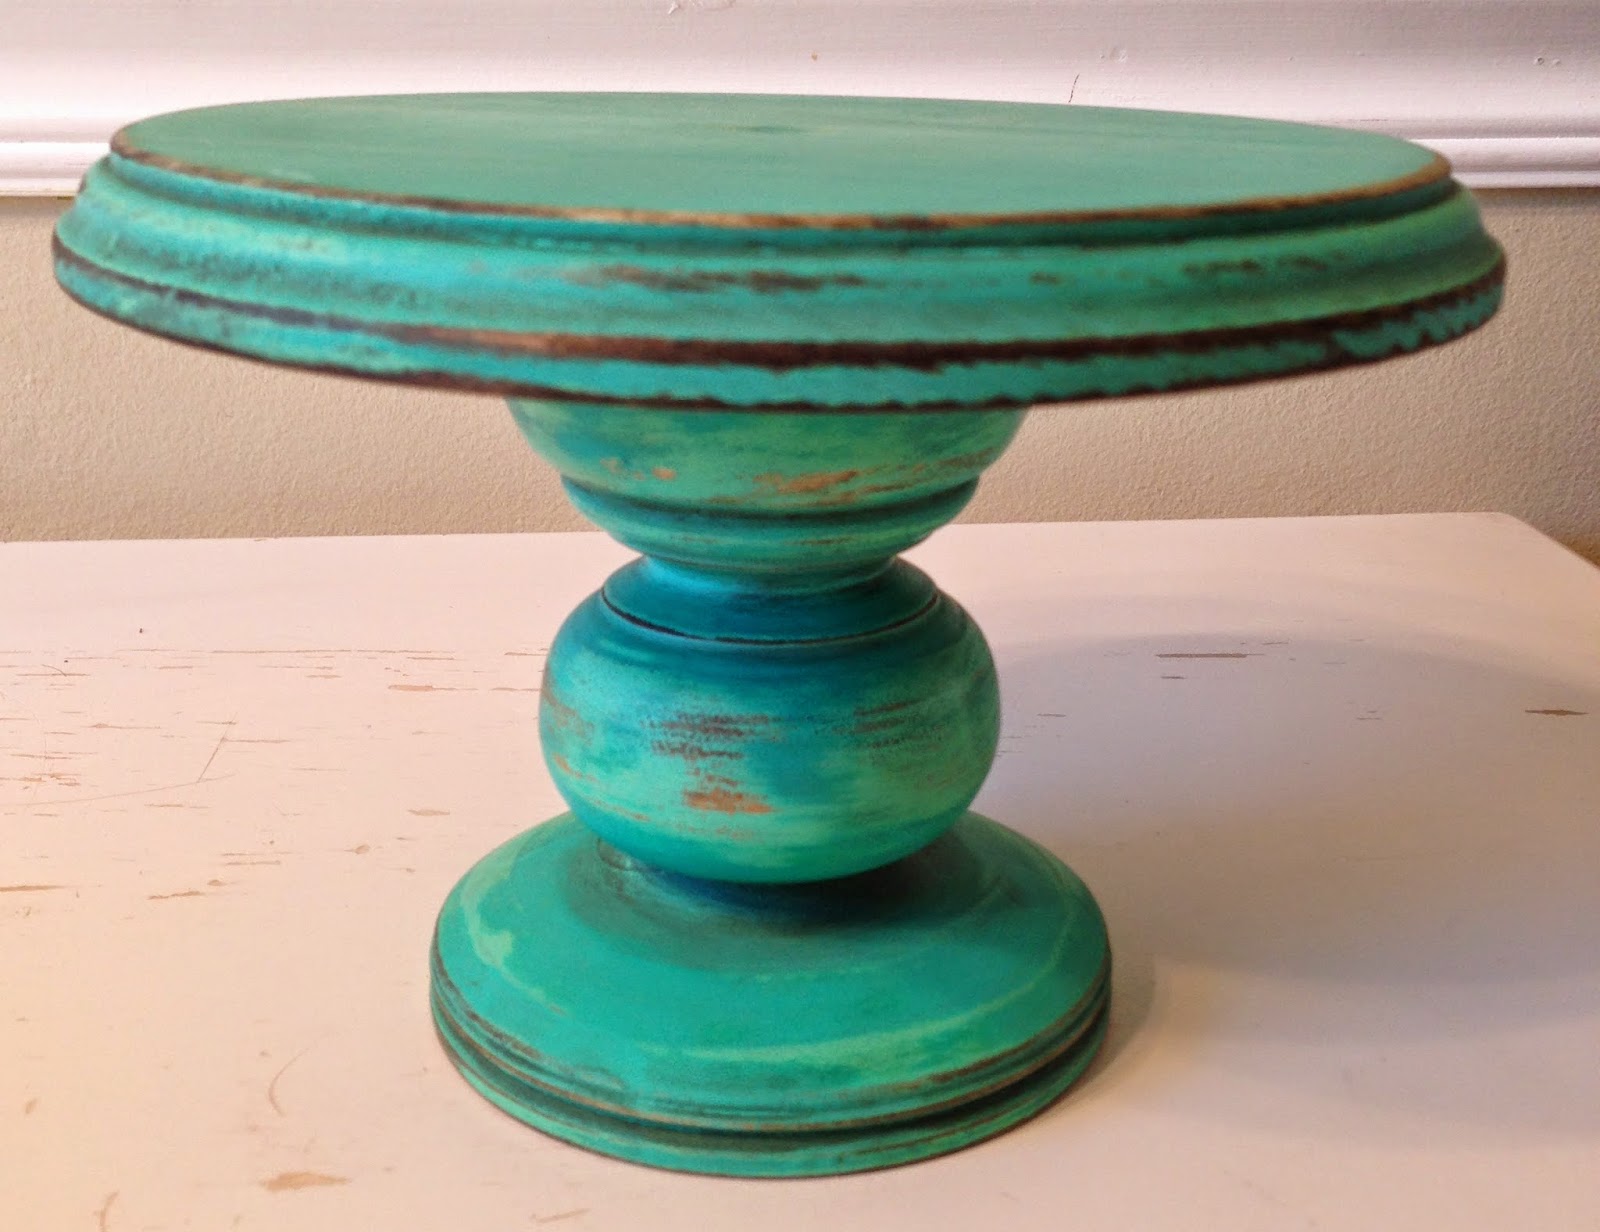
8. After you have sanded your cake plate for a final time wipe away the dust with a damp rag and do a top stain over the paint and the wood. I used both a natural and a dark stain, but I think I prefer the dark stain best.
Tada! I used the natural stain on the green cake stand and the dark stain on the turquoise cake stand.


No comments:
Post a Comment