Monday, December 29, 2014

First Lego League

One of our most recent ventures has been First Lego League. What a learning experience! First Lego League involves creating robots using a programmable brick and lego components for boys ages 9 to 14. To register a team or just get some info go to http://www.usfirst.org/roboticsprograms/fll. The Robot they are using this year is called the EV3.


The kids are tasked to build a robot including a base, ams, etc using sensors, motors, and the brick, and program it to accomplish a series of challenges on a giant table. Directions for making the table are online on the FLL website. Once you have registered your team you can order what is called the field kit. It comes with a map like paper that fits inside and on top of your table called the field and the mission models which are the challenges. The cost for the field kit was $75


This year since we were a rookie team and I felt like we were taking on a lot, I sat down with my two boys and built the mission models. Next year we will totally have a building party and include all of the boys on the team. But I had fun figuring it out with my boys. It took us an afternoon and a morning working together. We were so excited to get them finished. This picture was probably taken about 5 in the morning :-)


The instructions were all online, which kind of drove me crazy, I'm definitely a hard copy kind of person.

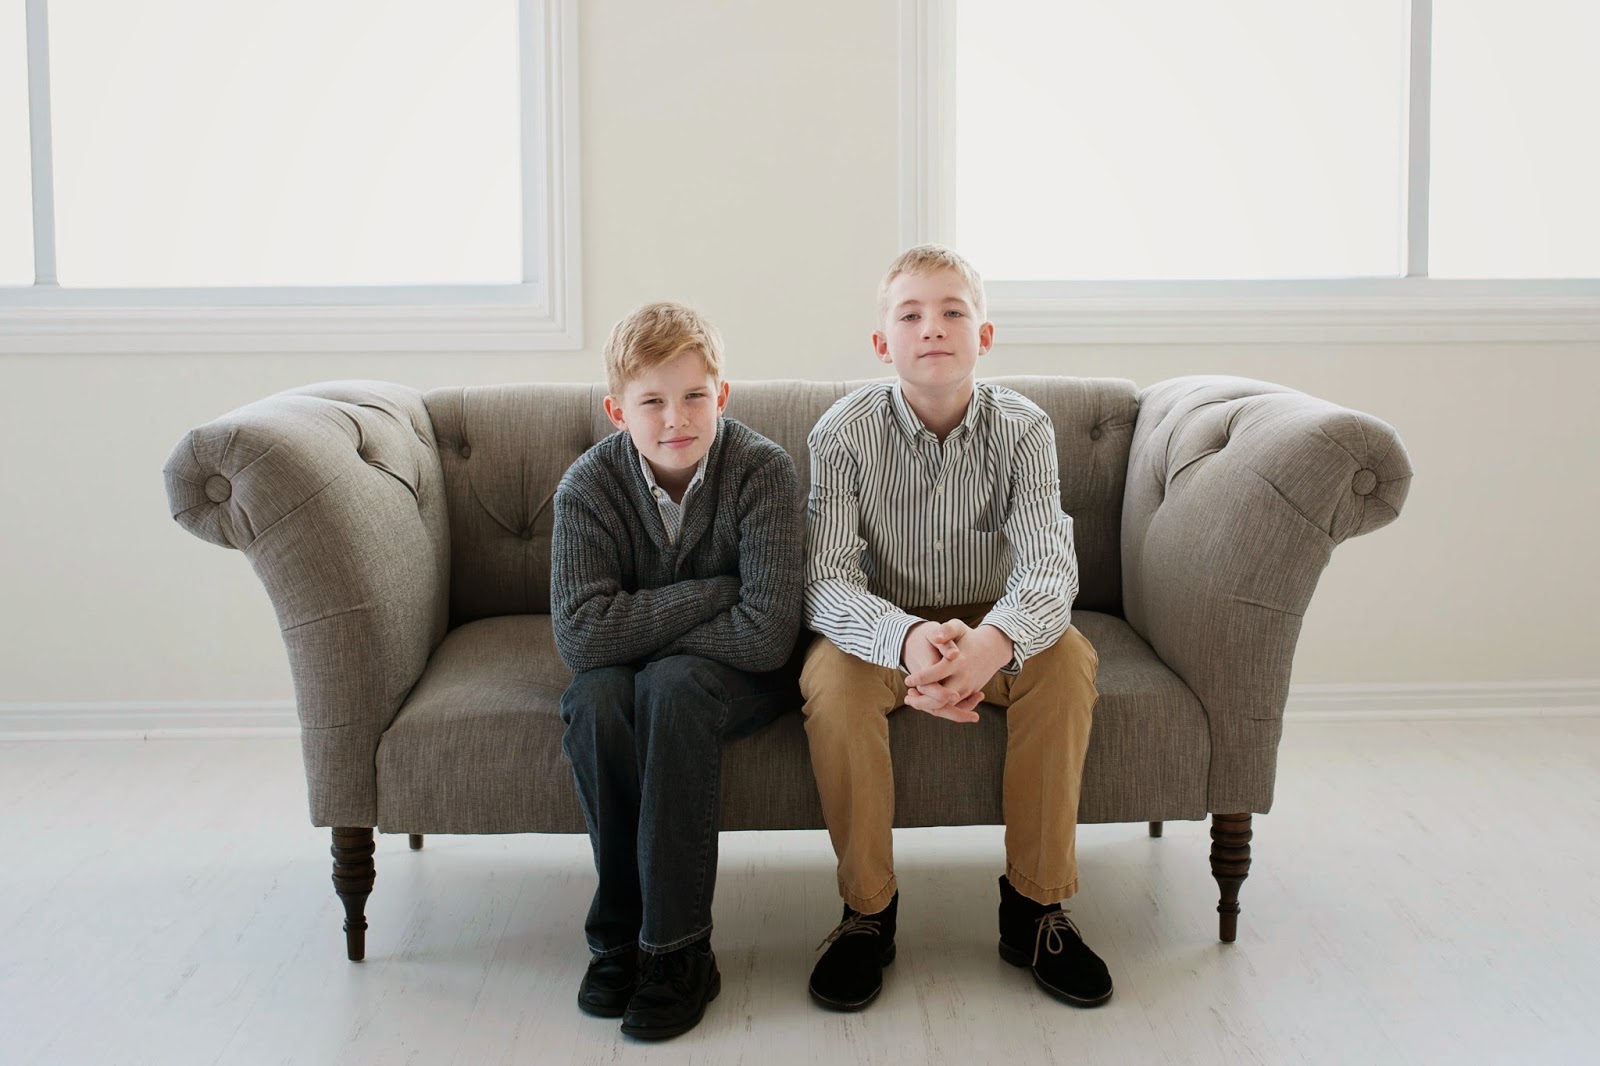
As you can see, the kids are all a lot of fun!


The table IS huge!

In order to compete statewide or nationally you have to first register with FLL and then register for a local event. Registration to the national league is $225, but is shared by all team members. Registration for a local even is a flat $100 and is also shared by the team.

There are 3 parts to the competition: The Robot Game (which is everyone's favorite part), The Project, and Core Values. The teams are judged in each category.

Part of going to competition is showing your team spirit. Most teams make t-shirts and include other kinds of props. The kids designed their own t-shirts. We all agreed on a basic style so that we had some uniformity, but then they individualized their robots. Each of their shirts has a picture of the robot they designed and the wording "Ben is in control", but each shirt says their own name.  We also put Rookie year on the sleeve.

This was one of my favorites


 Here's how Ben's turned out.


We went with nerd glasses since this year's theme has to do with learning


We also made some shoes


 The boys turned in sketches for their robots and I freehanded them with some acrylic paint. Some of the boys participated in painting their T-shirts, but others didn't seem interested. Everyone got to pick the color that went on their items and we decided together to go with florescents.


It's been a lot of fun watching these kids learn and grow! Our competition is Jan 3 and we are all crossing our fingers!

Here is a video of one of our practices.


We just got back from our very first tournament. It was so much fun. Harrison's team came in first and are invited to go to state. Ben's team came in 4th, which is really great for a rookie team. I'm so proud of them. Next year we're shooting for state!

Here's just a few pictures of the day. Along with her mama, Livy is a huge supporter :-)


Here's a few pictures of Harrison's team.


Sunday, December 28, 2014

Oodles of Noodles

Thank you Tanya for the pasta Machine. This Christmas we got a pasta machine. I've been wanting one of these puppies for years! I used to make, roll, and cut my own pasta by hand, not an easy task! We've had so much fun making fresh pasta.


We used a simple ratio recipe for our pasta, 100g of flour for every egg. We used 500 g of flour and 5 eggs. This allowed for 6 generous helpings of pasta.

1. The first step is to create a mound of flour on your work surface.


2. Make a well in the center of the mound and add the eggs.


3. Use a fork to beat the eggs.


4. Slowly pull flour from the inner edges of your mound and incorporate it into the eggs. When you have incorporated a little over half of the flour it will form a shaggy mass.
5. Start kneading the dough with both hands.
6. Don't worry about incorporating all of the flour. Work the dough into a mass and save the remaining flour to work in as the dough gets sticky or for dusting your pasta as it comes out of the pasta machine. Knead for at least 3 minutes. The dough should not be sticky, you should be able to work with it easily. If it gets too sticky dust it with flour.
7. After you have kneaded your dough for 3 minutes shape it into a ball and wrap it in some plastic wrap. Let it rest for 20 min. This is a very important step, do not skip the resting period.


8. Divide your dough into 4 portions, and form them into balls. Wrap them in plastic wrap until you are ready to work with each ball.
9. Take one of the dough balls and squash it into a disk.


10. Feed it into your pasta machine at the thickest setting. Run it through and repeat 5 more times. Each time you run it through it will get smoother and smoother.


11. Keep feeding it through your machine changing the settings to make it thinner and thinner one step at  time. Thin to the desired thickness. We went to about a 7 on our dial starting it out at a 0. Fold it in on itself the first couple of times you run it through to keep it from being patchy. Alternate between folding it long ways and short ways.


12. As the pasta comes out of the machine it is important to dust it with the excess flour so that it does not form a sticky clump.


13. Boil for 3 minutes and enjoy!

Chicken:

1. Cut each breast of chicken in half. Thin the thicker half by dividing it in two. Remove all of the fat and ligaments.

2. Salt and Pepper each side of the chicken generously.

3. Heat a Large skillet on medium-high heat (between a 6 and a 7). Add 3 Tablespoons of olive oil and allow it to warm for a minute before adding the chicken.

4. Allow it to cook on one side for about 6 minutes. It should be a dark golden brown.

5. Flip it over and allow it to cook for another 3 minutes. Start to check for doneness.

6. Allow the chicken to rest for about 5 minutes before you slice it up.


Alfredo Sauce:

1 1/2 cups of cream
1/2 cup of Butter, 1 stick
1/4 cup of grated parmesan
Salt and Pepper to taste
1 TBS of chopped fresh parsley

Melt the butter and add the cream. Stir. Add in pasta. Toss with parmesan and parsley. Salt and Pepper to taste. Top with chicken.


Enjoy!

Friday, December 19, 2014

Family Pics & Pik it up!

We recently had our family pictures done. I thought I would just post a few of them. They were so fun to do and I thing Megan (http://www.megsphotographyanddesign.com) was fantastic.


I love how you can see all of their personalities! 

Here's Miss Olivia


Benjamin's Pics


and Harrison


And Madelaine


More group shots


I had fun creating some snowy looks too!


Lastly I thought I would tag this little tid bit on :-) We had a family home evening last week where we talked about "If you drop it, pick it up!" Each child got a turn teaching the lesson. I guess it really hit home with Liv, because I found this magnetted to the fridge the next day. Gotta love that girl!