Sunday, July 27, 2014

Not So Glamping Camping


 This last week we decided to go camping kind of spur of the moment for pioneer weekend. We left on pioneer day and decided to honor our own pioneer history by checking out a house that Chad's Great, Great Grandpa Rogers built in Fillmore, Utah with Chad's parents, and Chad's sister's family.


Fillmore was just a bit abandoned looking, but it was fun to read from the family histories and look at the house. It is actually for sale at the moment so we were able to go inside and walk through the house!

On the way to the Great Basin we saw a couple of wild fires which made me very nervous!


Camping was tons of fun! The kids really enjoyed it. We affectionately called our little campsite Lucky Number 11. It really was quite charming. Chad made a pretty mean breakfast the first day. YUM!


We enjoyed hiking, playing in the streams, visiting the lake, playing cards, and especially our time around the camp fire. We told ghost stories, popped some jiffy pop, and made s'mores! And oh by the way I have a new favorite way of making s'mores!


The picture below is particularly memorable for me. It was Olivia's turn to tell a ghost story. She is 6 years old. I listened to and watched the other 3 struggle to come up with a story, but not Oliva, she went on and on :) So much that I started to tune out. At one point when I tuned in she was talking about 1000 dead school girls in a purple tent. Where does she come up with this stuff? I had to try not to laugh as it was supposed to be a ghost story!


I didn't get a picture of the s'mores, but we just had to recreate them once we got home, because they were just so delicious!

Do you remember S'moreos? Well, School Boys are even better!


I roasted my marshmallows at home in the oven on the broil setting for 2 1/2 minutes, but they probably could have gone for 3 min.


We used Petit Ecolier (we call them School Boys), which are a chocolate biscuit cookie. The best part is they come with great chocolate, so no need to worry about a Hershey's Bar!


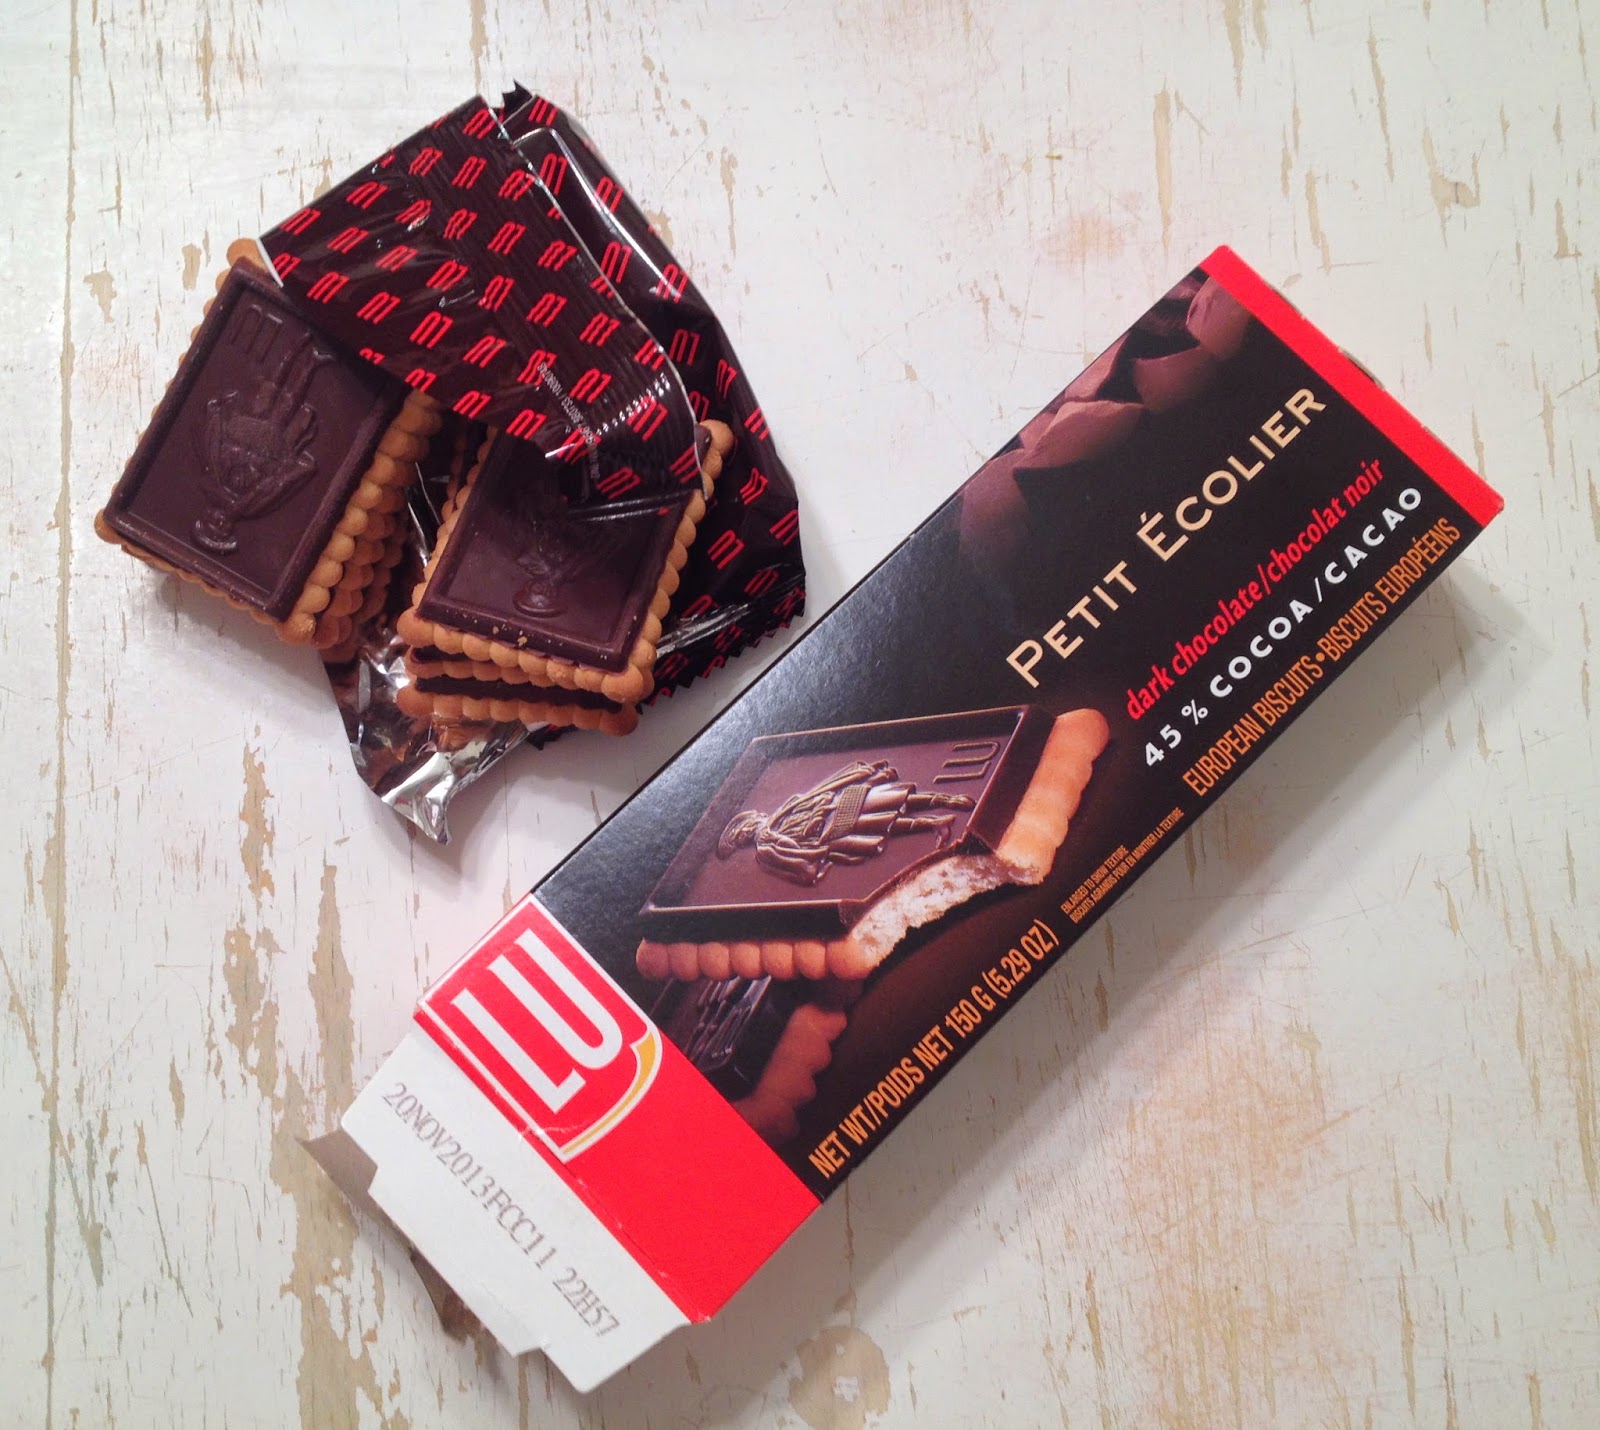
Can you see that Yummy Chocolatey Goodness? These are definitely my new favorite way of eating S'mores!


YUM!


Friday, July 18, 2014

Mini Tissue Pom How To

I don't know what it is about these mini tissue poms, but I just love them! Here is a quick tutorial, but the sky's the limits on what you can do with them. Decorate a box, top a cake, or make a garland, it's up to you!


1. Start by squaring your tissue paper off. Do this by creating a triangle and cut off the remnant.


2. Next fold your tissue paper in half then in half again creating a square.


3. Repeat step two again creating a new smaller square. You should now have 8 layers.


4. Now fold your square into a triangle, and then again into a smaller triangle.


5. Now bring one of the lower points up folding the triangle in half, but leaving the lower layer down.


6. Turn your tissue paper over and repeat for the other side.


7. Cut a petal shape from one side of the triangle to the other.


8. Open your tissue paper up and stack them individually alternating the petals.


9. Fold your circles in half and punch a hole through them. Tie it off with some twine.


10. Flip it over and begin to shape your petaled circles one round at a time cupping them and scrunching them.


Now you can top a package, create cake toppers, or make a garland!

Enjoy!


Thursday, July 17, 2014

Best Ever Caramel Cake


Last weekend we got together for my Mother-In-Law's Birthday. Gina made this 4-layer Caramel Cake. It has to be the best caramel cake I've ever had. It was tender and moist with just the right amount of salty sweet.

Cake Ingredients:

Vegetable cooking spray
Parchment paper
1 1/2 cups all-purpose flour
1 1/2 cups cake flour
1 tsp. baking powder
1/2 tsp. salt
4 large eggs
1 cup milk
1 1/2 tsp. vanilla extract
1 cup unsalted butter, softened
2 cups sugar
Caramel Frosting

Caramel Frosting:

1 cup unsalted butter
2 cups firmly packed light brown sugar
1/2 tsp. salt
1/2 cup milk
4 cups powdered sugar, sifted
1 tsp. vanilla extract

To make the cake:

1. Preheat your oven to 350 degrees. Line the bottom of your pans with some wax paper. I traced mine and then cut them out slightly smaller than the pans. Coat the pans and the wax paper with a cooking spray or some butter and flour.

2. Sift together flours, baking powder, and salt in a small mixing bowl. Whisk together the eggs and milk in a separate small mixing bowl.

3. Beat the butter and sugar for 3 minutes on medium until light and fluffy. Alternately add the flour and egg mixtures starting and ending with the flour mixture. Beat on low speed each time until batter is just combined. Mix in the vanilla. Divide the cake batter into the two pans evenly.

4. Bake at 350 degrees for 25 to 30 minutes or until centers of cakes spring back when pressed lightly with your finger and a wooden pick inserted in the center of the cake comes out clean. Let the cakes cool for 10 minutes in their pans on a wire rack and then remove to cool on the rack for a few minutes.

5. Lightly wrap the cakes with wax paper and put them in the freezer for 1 hour.

6. Remove the wrap from the cakes and cut each one in half using a long serrated knife.

7. Place your first layer on a cake plate and spread a thin layer of frosting on the top of the cake all the way out to the edges of the cake. Repeat until all the layers have been added. Use the remaining frosting to frost the top and the sides of the cake. Allow for the frosting to set completely, about 1 hour.

To make the Frosting:

1. Cook butter in a saucepan over low heat until melted. Stir in brown sugar and salt. Cook, stirring constantly, 2 minutes. Add milk, and bring to a boil, stirring constantly (about 6 minutes). Remove from heat. Let cool until warm, stirring occasionally (about 45 minutes).

2. Place sugar mixture in bowl of a heavy-duty electric stand mixer fitted with a whisk attachment. Add powdered sugar, 1 cup at a time, beating at medium-low speed until blended after each addition, and scraping sides of bowl as needed. Add vanilla, and beat at medium speed for 1 minute. Use immediately.

Enjoy!


Here are some references I found pretty helpful:

How to Cut a Cake Layer in Half


How to Perfectly Frost a Messy Cake


Wednesday, July 16, 2014

Turn an Ordinary box into an Extraordinary Box!

You can make an ordinary box into an Extraordinary box with a little scrapbook paper in a matter of minutes!


For this project you will only be covering the top of the box. Start by measuring a piece of paper about 1/2 of an inch wider than the box you will be covering + its sides. So for example, if the box you are covering is 2 inches wide across the top and the side of the box is 1/2 in deep, you would cut your paper at 3 1/2 inches wide. For the length you will cut exactly the length of the box + the depth of it's side. So again for example, if your box is 8 inches long and the sides measure 1/2 in deep you would cut your box at 9 inches in length.


Cover the top of the box with some Elmer's Glue All. and center the paper under the top of your box making sure that the right side is facing out.


Gently press the paper against the sides of the box creating creases. Tuck the short ends under the long ends at the corners folding them under the long ends of the box.


Once you can tell that everything is working as it should glue it down with a little Elmer's and call it good! Add a pretty ribbon and a tag to make it extra special.


Enjoy!