To get started as a bee keeper you will need:
A hive made up of (from bottom up):
Hive Stand - Supports the hive off the ground to keep the hive bottom dry and insulate the hive. This can be purchased when you buy your hive from your bee supplier and comes in many different shapes and sizes or you can create one using cinder blocks or pallets.
Bottom Board - Forms the floor of the hive.
An Entrance Reducer - Can be used when the hive is new to make it easier for the bees to protect the hive while they are still small in numbers. Can be removed as the hive size increases. You do not necessarily have to purchase an entrance reducer. You can as easily stuff parts of the entrance with pine straw or other materials to minimize the entrance.
Hive Bodies - Consists of Body, Frames and Beeswax Foundation. “Brood Chambers” are the bees’ living quarters. Queen lays eggs in these chambers and brood is raised. Honey is also stored for the bees’ food.
Queen Excluder - Keeps the queen bee in the brood chambers as she is too large to pass through the excluder. Prevents her from laying eggs and raising brood in honey supers placed above the excluder.
Supers - Consist of Super, Frames and Beeswax Foundation for “surplus” honey storage. Bees store their extra honey in the frames for the beekeeper to remove. 6-5/8' or , 5-11/16'' supers, or even hive bodies may be used.
Inner Cover - Creates a dead air space for insulation from heat and cold.
Hive Cover - Telescoping cover “telescopes” over the sides of the top super to protect the hive. Galvanized covering.
Some companies sell a top that includes both the inner cover and the hive cover in one.
When you very first get started you only need two supers. The bottom super is where the bees will begin their work. You can leave the top super empty of Frames until at least 7 of the lower frames are being used by the bees. You can add your honey super sometime around June after the hive numbers have increased and the bees are ready to start creating excess honey.
Smoker: used to calm the bees anytime you are working in the hive, also a puff of smoke on a sting will keep other bees from attacking the site.
Bee Brush: used to brush bees aside when they are where you don't want them. It is soft and gentle so as not to hurt the bees.
Hive Tool: Used for just about anything. You can use this tool to uncork new bees, shuffle and loosen frames, really just about anything.
Gloves: Used to protect your hands from stings. Some beekeepers prefer not to work with gloves as they make it harder to feel what they are doing and claim that this causes clumsiness which aggravates the bees more.
Hat with Veil: Protects face and head from stings.
Don't forget your beekeepers license!
Helpful Links:
The Bees Knees
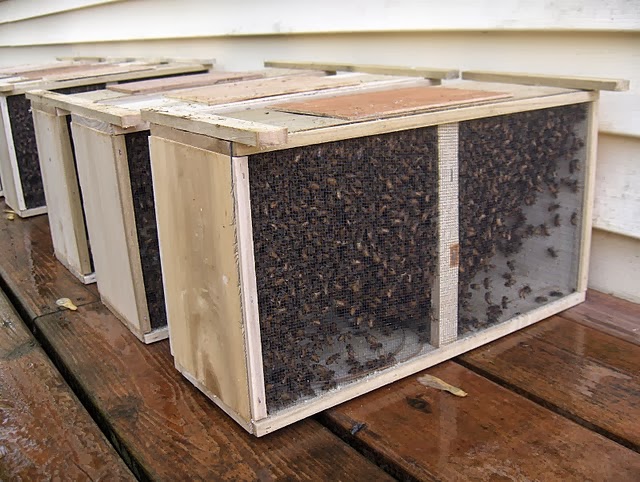
Ordering Your Bees


