

1. The first thing you have to do is decide how you will be lighting your jack-o'-lantern up. For example, will you be using a candle or Christmas lights*?
2. For a candle cut a hole in the top of your pumpkin, for Christmas lights it is handy to make the hole in the bottom. You will need to make the hole about two inches larger than your jar, so that it and the Christmas lights will fit through.


3. Next you have to gut the pumpkin using a large metal spoon or a fleshing tool. Remove seeds, pulp, and flesh.
4. Sketch the design you want to put on your pumpkin or print a free template from online.

5. Tape your design onto your pumpkin so it doesn't move around. Next use a sharp awl, needle tool, or thumb tack to transfer your design by pricking holes around the contour of your design.
6. Carve your pumpkin using a serrated kitchen knife or one found in a pumpkin carving kit.


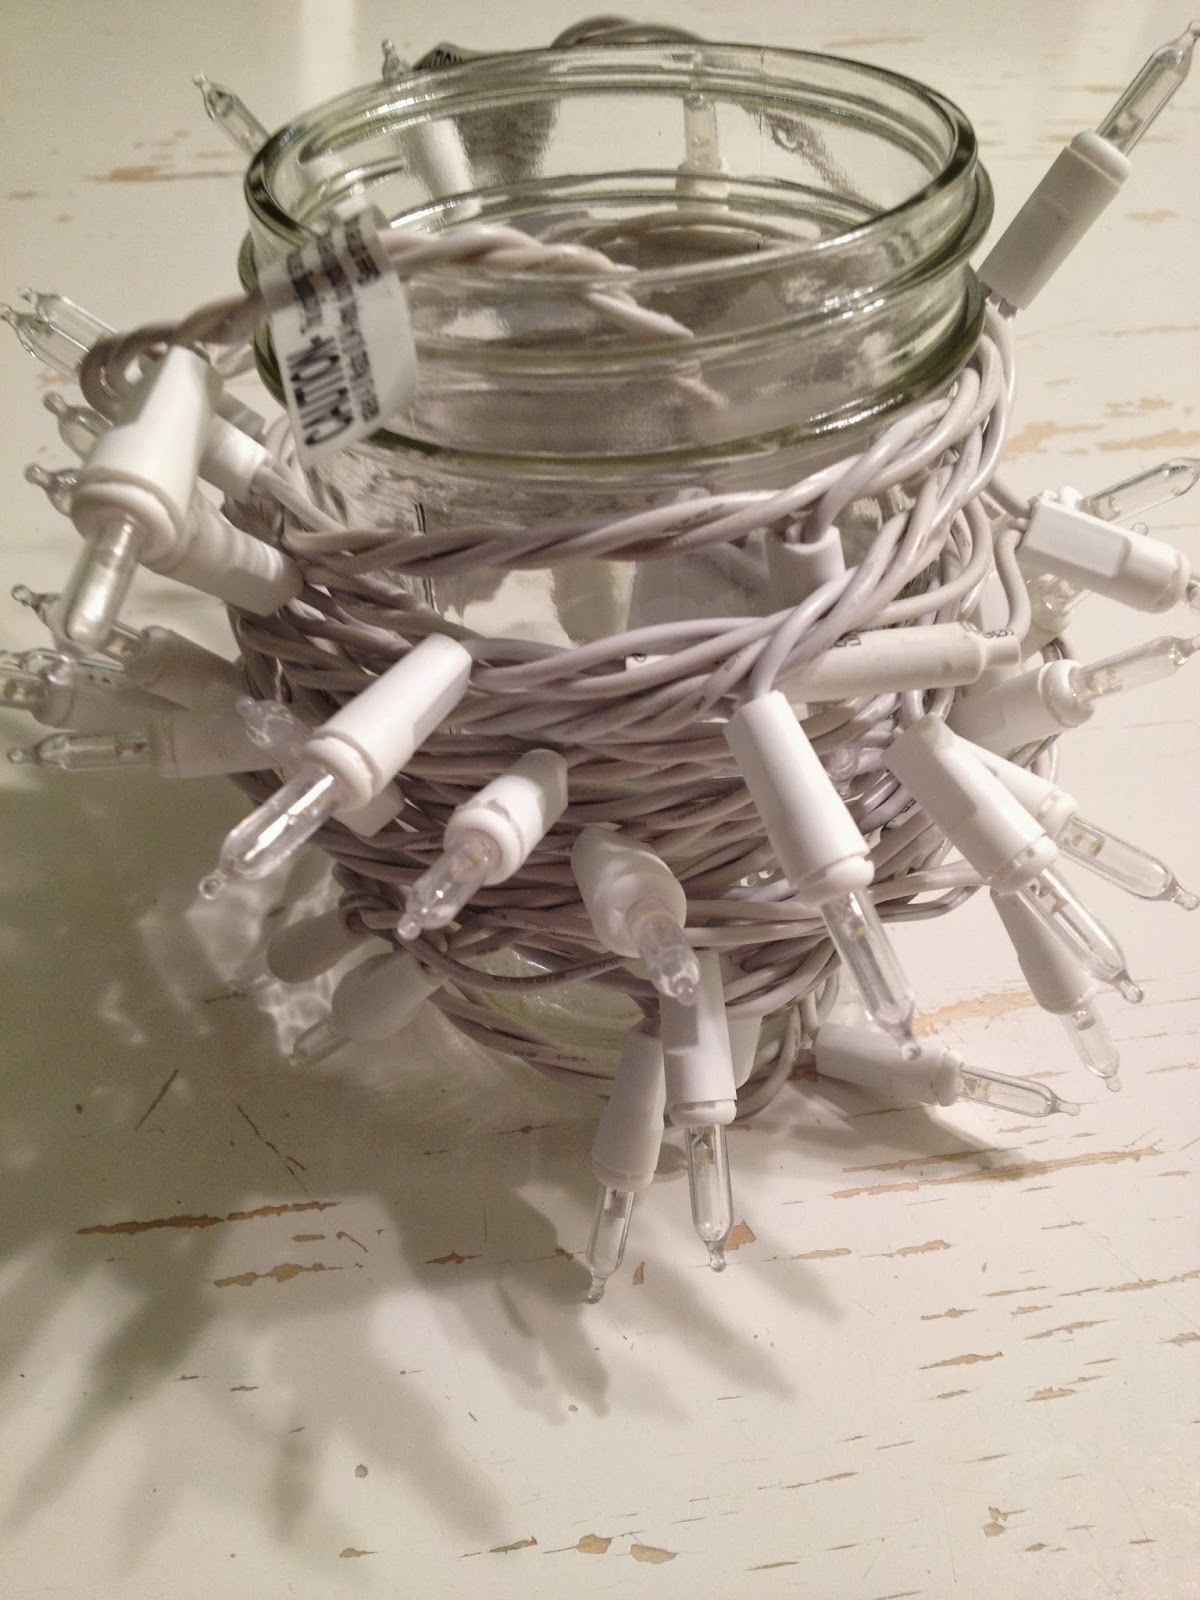
*If you choose to use Christmas lights wind them around a large mason jar and fasten in place with a bit of tape.
No comments:
Post a Comment