Sunday, April 6, 2014
A Belgian Breakfast
This week is general conference and to make it fun for the kids I wanted to start a new tradition to make conference something fun and something they will remember looking forward to. I decided to make Belgian Waffles. Belgium was one of the countries I lived in while growing up. My memories are full of hanging out down town Mons, Brussels, or Bruges. Something we did nearly every weekend was to get a Belgian waffle. Usually it would be somewhat cold and somber outside, and almost always drizzling. We would be all wrapped up in our coats trying to stay warm and I just remember whenever I got my steaming hot waffle with crispy sugar it was like someone had passed me a bundle of pure bliss! Wanting to share that with my family I settled on Belgian waffles. Here goes:
Belgian Waffles:
3/4 lukewarm milk
1 TBSP yeast
1 TBSP sugar
2 sticks of butter at room temperature
2 eggs
1/2 tsp salt
1 tsp vanilla
3 1/2 Cups flour
8 oz of sugar cubes (63 cubes)
1. Heat the milk to room temperature in a sauce pan. Transfer the milk to a bowl and add the yeast and TBSP of sugar. Stir slightly and let the mixture sit until frothy (about 5 min).
2. Mix the butter, eggs, salt, and vanilla in a large bowl.
3. Add the yeast mixture and mix until combined. The dough should be very tender and a little wet, but because of the amount of the butter in this recipe it doesn't get very sticky :)
4. Cover and let rise for 30 min.
5. Break up the sugar cubes using a kitchen mallet.
6. When the dough is finished rising add the broken sugar cubes and form the dough into balls. The size of your balls will depend on the size of your waffle maker. I made my dough balls about 1/3 of the size of my waffle maker squares.
7. Follow the instructions for your waffle maker to cook your waffles. Mine has a green light and a red light with a setting for light to dark. I used the middle setting.
8. Sprinkle with sugar and serve with a scoop of ice cream or a scoop of creme fraiche! My husband likes to eat them a la main.
9. Enjoy!
For more recipes Click Here
Thursday, April 3, 2014
Chocolate Easter Eggs
These were a whole lot of fun to make if not just a little tricky! One batch of the chocolate truffle recipe made 7 medium sized eggs.
1. The first step is to wash your eggs and blow them out. Do this by using a pin to prick holes at either ends of your egg. Make a small hole at the small end of your egg and a much larger hole at the large end of the egg.
Its helpful to have a variety of sizes of tools to prick your eggs with. I used 4 different sizes of pins to gradually increase the hole size, although you will end up having to chip away at the bottom hole to make it big enough to poor your chocolate in. Don't worry about trying to make it perfect, embrace all the imperfections and display your eggs with varying amounts of being unshelled.
2. Now it's time to blow your eggs out. Press your mouth up against the small end of the egg with the small hole and blow. The egg comes out relatively easy. Make your self an egg, save it for later, or discard it.
3. Now it's time to sterilize your eggs. Put them in a pot of cold water and add 3 TBL of vinegar. Make sure your eggs are completely submerged by holding them down into the water until they fill with water. Bring the pot to a boil, then turn down the heat and simmer for 10 minutes, skimming the foam off the top of your water with a wooden spoon.
4. Take the eggs out of the pot, empty them of water, and allow them some time to cool and dry.
5. Dye your eggs per your own personal taste. Click here for a few tips on how to.
6. Allow your eggs to completely dry out.
7. After your eggs have thoroughly dried it's time to make the chocolate!
Chocolate Truffle Recipe:
1/2 cup of cream
6 TBSP butter
1/3 Cup of milk chocolate chips (I prefer Ghirardelli)
1 2/3 Cup of semisweet chocolate chips
8. Heat the cream to a simmer.
9. Add the butter and stir until it is completely melted.
10. Add the chocolate chips and stir until everything is smooth and runny.
11. Remove the chocolate mixture from the heat.
12. Now it's time to pour the chocolate mixture into your eggs. This is a lively experience! Don't wait or your chocolate will cool and become hard to pour. I ended up pouring my cream into another container and using the cream carton to get a more precise pour with the chocolate.
I took pictures, but somehow I managed to delete them! grrrr! I also wanted a way of keeping the egg straight up while waiting for the chocolate to set. I hadn't thought this through very well so I had no plan. I quickly grabbed all the medicine, vitamin bottles, and such and created "egg stands" like this.
13. Allow the chocolate to cool for 10-15 minutes and then move to the fridge. Cool Completely.
14. This chocolate is best served chilled and must be kept cool until your are ready to serve. Take the eggs out of the fridge 5-10 minutes before serving.
15. Enjoy! you deserve it.
* Just a tip: I tried my chocolate eggs using medium sized regular eggs, but really its just a lot of chocolate. I'm trying to get my hands on some quail eggs which are much smaller and beautiful to look at. The proportion of chocolate would be much more appropriate :). Either way this is a whole lot of fun!
For more recipes Click Here
For more crafting fun Click Here
Wednesday, April 2, 2014
We're Getting Our Easter On!
Today we dyed Easter eggs to help decorate Liv's Room for Easter.
Olivia's favorite color is purple. I really enjoy dyeing eggs the same color, but using a whole spectrum of that color. I did a little research and this is what I found:
Use about 3 TBL of vinegar per Cup of water to help set the color and create a more vivid look. Water it down for a more pastel look.
These eggs were made using only two colors: purple and blue. You can get a couple of different shades two different ways and each way will create a different spectrum of color. The first way is set a couple of eggs into one batch of dye at the same time but take some out quickly and let the others stay in longer, and yet longer again. The other way is to double dip. Try letting an egg sit in one color for a minute or two and then let it sit in the other color for another minute or two. When you're through you can mix your dye batches together creating yet another color look. Dyeing eggs is so fun, I could do it over and over again :-)!
Here are just some of the other color combinations we worked on today.
Coming Soon... Chocolate Easter Eggs!
For more crafting fun Click Here
Let's Go to the Hop!
I found this cute little idea at The Hostess With The Mostest Blog
Here's my littlest's bunny tails and bunny teeth!
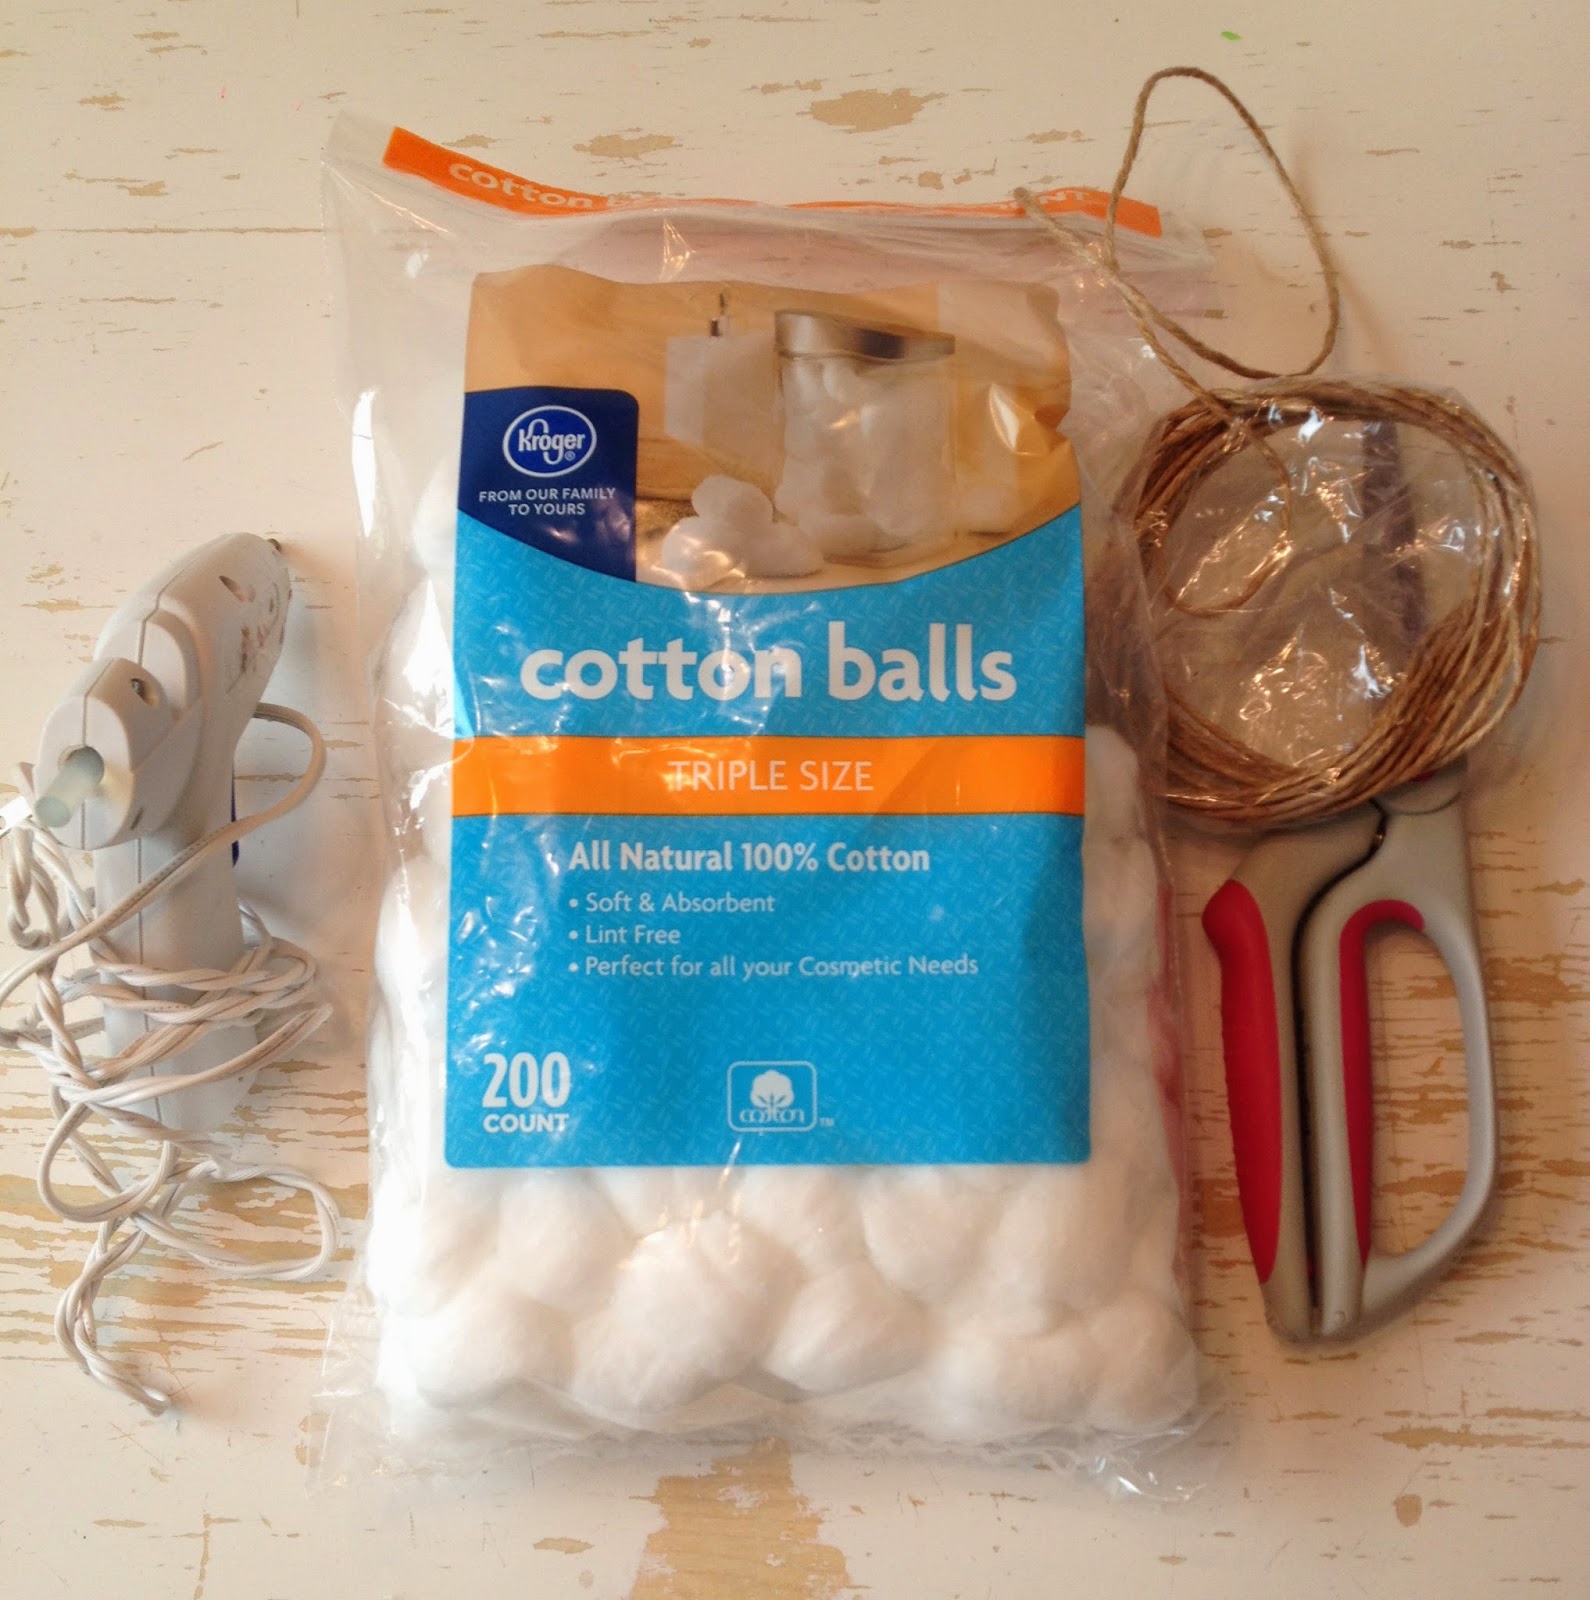
I thought these would be fun for the little kids to use while doing an egg relay race. We'll give them some story about how hard the Easter Bunny and his helpers have to work. It's a simple project that only takes a few moments.
Supplies:
12-14 cotton balls
A hot glue gun
Just a little over a yard of twine
Scissors
2. Close your hand up smooshing the cotton balls into the shape of a round ball. Be Brave, but don't burn yourself!
3. Put a whole bunch of glue on top of your wad and center your twine over it. Add a little more glue.
4. Gather 3-4 more cotton balls in your hand and center them over the wad of glue.
5. Shape your bunny tail by cupping it into both of your hands.
6. Make as many as you like!
For more crafting fun Click Here
Toasted Marshmallow Milkshake
Oh My! I've died and gone to Heaven! This is a 5 minute project that will rock your world. We usually do hot chocolate at least once while at camp, but I think this year it's going to have to be this milkshake!
Recipe:
3 Heaping scoops of vanilla ice cream.
1/2 tsp of vanilla
1/2 Cup of milk
8-10 Large marshmallows (must, must, must be toasted!)
1. Toast your marshmallows by broiling them in the oven for 2-3 minutes on parchment paper. Watch carefully! OR just do it the old fashioned way on a stick over a flame.
2. Blend all of the ingredients together reserving a couple of marshmallows to garnish with.
3. Dish up topping with a toasted marshmallow. Enjoy!
Click here to see S'more Campy Cupcakes!
For more recipes Click Here
For more camp fun Click Here
Tuesday, April 1, 2014
You Suck!
This was the leftovers after making flower suckers as valentines this year. For the kids we tied either a tag that said "I'm a sucker for you", "without YOU my life would SUCK", or "From ...." per each child's tastes. My teenager loved the YOU SUCK idea, but the others were afraid people would get offended. We also gave "bouquets" to their teachers in spice jars filled with the pink, orange, and White conversation hearts. It was a lot of fun!
What you will need:
Suckers (I found the heart shaped suckers at Walmart 8/$1, but you can easily use any lolly pop
mini cupcake liners
2-3 different colors of large cupcake liners
A hot glue gun.
This is how I did it.
1. Start with the smallest cupcake liner. Poke a hole through it in the center with your sucker and push to just under the top of your lolly pop. Scrunch just a bit to make a ruffled look.
2. Add a small dot of glue to keep in place.
3. Follow with 2-3 more of the largest cupcake liners scrunching and adding drops of glue after each layer.
4. Voila! You are finished.
Just a couple of tips:
1. Using a variety of colors and patterns adds interest, but I do like to keep my "Bouquets" in the same color family. Can you see the polka dots?
2. Start with the lightest color on the inside and gradually go darker as you go or just the opposite!
3. You can also flip the liners inside out to create a different look. The two front flowers are identical except the liners have been flipped making one appear lighter and the other darker.
Hope you ENJOY!
For more crafting fun Click Here
The Bunny in the Hunt
This year for our annual Easter egg hunt I'll be adding cute little bunnies for the kids to find. They'll love taking them home and keeping them to snuggle with!
What you'll need:
Scraps of fabric
Stuffing
Pinking Shears
Ribbon or Yarn to tie bows
Template
You can find the template here.
1. Print and cut out bunny template.
2. Pin bunny template to double layers of scrap fabric right sides facing out.
3. Sew around the the edge of the bunny template skipping the bottom of the bunny.
4. Pink around the edge of the bunny just outside of the stitch line.
5. Stuff loosely with stuffing.
6. Top stitch the bottom closed
7. Tie a bow around the neck of the bunny.
Enjoy!
Click Here for more Bunny Fun!
Click Here for more Needle and Thread
For more crafting fun Click Here
Subscribe to:
Posts (Atom)